Guide for Novices: Operating a Pneumatic Engraver
The core component of the pneumatic engraving machine is the pneumatic system, whose basic components include air source, pneumatic actuator, air connecting pipe and control components. Among them, the air source provides the gas power required by the engraving machine, the pneumatic actuator is responsible for converting pneumatic energy into mechanical energy, the gas connection pipe plays the role of transmitting gas, and the control element controls the output of the air source and the action of the pneumatic actuator to make it Complete assigned work.
The air source usually uses compressed air, which is sent to the pneumatic actuator through the air connection pipe. Pneumatic actuators include cylinders, drive shafts, etc. Their internal structures are similar to pistons and piston cylinders, and mechanical movement is achieved through changes in air pressure. In pneumatic engraving machines, pneumatic actuators are mainly used to control the up and down movement of the engraving head, engraving speed, etc.
It is inevitable that you will be a little overwhelmed when you use the pneumatic engraving machine for the first time, but you can learn by looking up relevant information on social media. I will also help you understand how to use the pneumatic engraving machine faster.
Step 1: Understand your pneumatic engraving machine
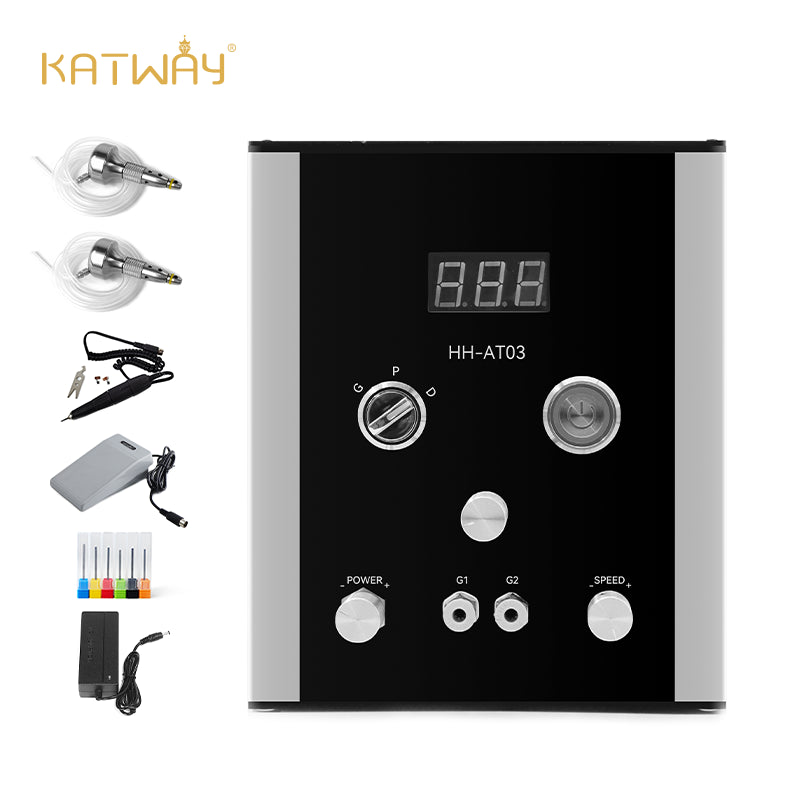
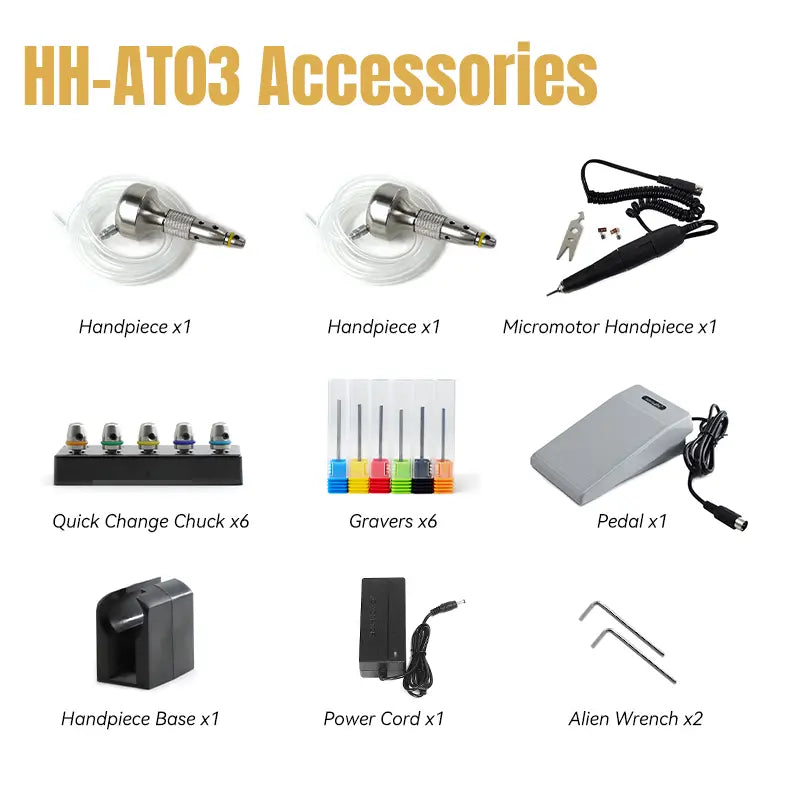
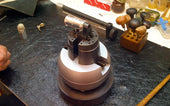
First, you can read the instruction manual to understand the usage and safety guidelines of the pneumatic engraving machine. Then you can observe your pneumatic engraving machine and become familiar with each part, including the machine head, air compressor, foot pedal, and all accessories that come with the engraving machine. Understand and observe the principles of its use. Safety is the most important and avoid dangerous situations.
Step 2: Set up the work area
Choose an airy and well-lit workspace where you can work comfortably while standing or sitting. Make sure there is a stable surface to place the pneumatic engraving machine and other tools and materials. Of course, it cannot be filled with them. You need to reserve space for work. You'll need good lighting and a set of safety gear including safety glasses, a dust mask, and hearing protection.
Step 3: Prepare materials
Choose the material you need to engrave, such as metal, wood, jade, glass, etc. It is necessary to clean the oil or other dirt on the surface of the metal to keep the surface of the material smooth and flat to prevent the uneven surface from affecting the carved line pattern after the engraving starts.
Step 4: Set up the engraving machine
Install the required engraving head, making sure it is installed and fixed in place to avoid danger. You can first practice using the engraving machine on scrap material to understand how it works. Adjust the air pressure to feel the engraving intensity of different air pressures, and you can get started with the pneumatic engraving machine faster.
Step 5: Use the foot pedal
The foot pedal controls the output of air flow and can well control the operation and stop of the machine. You can practice pedaling harder and faster. You can first step on the foot pedal lightly, and then slowly increase the force to feel the change in airflow during this process.
Step 6: Start carving materials
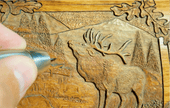
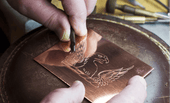
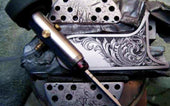
Hold the handpiece like a pen, don't use too much force, keep it relaxed and stable. Then you can start sculpting, and you will slowly feel that it is more under your control. Carve smoothly and steadily so that the material is evenly stressed.
Step 7: Adjust the engraving depth
To achieve different engraving depths, you can adjust the air pressure or change the angle of the handpiece. Practice on scraps until you get the hang of it.
Step 8: Clean and Organize
After use, you need to use a soft brush to clean the debris and dust on the surface of the engraving. If you need to make it more beautiful, you can use polishing materials to polish the engraving to enhance the engraving effect of the work.
Step 9: Maintenance and Storage
Machines, accessories, and tools need to be cleaned and maintained after each use. Then place the machine and other accessories in a dry and safe place for storage. It is necessary to regularly check whether the air compressor, air pipes and connections are damaged to ensure the safety of use.
in conclusion
As a novice using a pneumatic engraving machine, you may be afraid of the machine, but you can do it by observing the rules of use and then practicing continuously. This process requires you to have enough patience. Be sure to keep in mind the safety rules and standard operations. You can use scrap materials to practice more. Of course, you cannot practice using the machine all the time. You need to take appropriate rest to prevent fatigue. When you practice enough and continue to accumulate confidence and experience, you will find that the pneumatic engraving machine is an indispensable tool for your jewelry making.
We film the operation of each pneumatic engraving machine and you can follow us on YouTube. Of course, you can also contact us via WhatsApp or email. Our technicians are always available to provide technical assistance. We will answer your questions as soon as possible.
WhatsApp:+447716037934
View more related articles
What Casting Equipment Are Available for Jewelry Processing?


