When you are ready to carve, having the right set of carving tools is the first step. However, just having the tools doesn’t guarantee the completion of simple artistic creations, strength training is also needed. This is because no matter what kind of carving tool you have, mastering the strength of its use is key in the creative process. If there is a deviation in the strength, the result will not be as expected.
In this article, we have provided methods of strength training for different types of engraving tools to help you improve the accuracy and effectiveness of engraving.
Strength Training for Engraving Knives
Basic knife skills
As an essential partner in carving, we need to master the skills of using a carving knife. The focus is on using the correct grip and strength to carve different line effects, detailed parts and texture patterns.
The correct posture is to hold the knife, the palm of the hand holding the back part of the handle of the carving knife, fingers tightly hold the knife’s front part of the handle, the index finger against the back of the knife is not sharp parts. This allows you to tightly maneuver the knife and change the direction of the carving with your index finger.
Knife Strength Training Tips
First of all, you need to know that the carving process do not remember not too hard, you should keep your wrist flexible, with the appropriate power to gradually cut into the material, in order not to be too hard to cause the carving surface is not flat. You can improve your ability to control your strength by practicing carving with different materials. For example, choose less expensive materials such as foam and plaster to practice, observe the effect of carving with different strengths, and gradually master the appropriate strength.
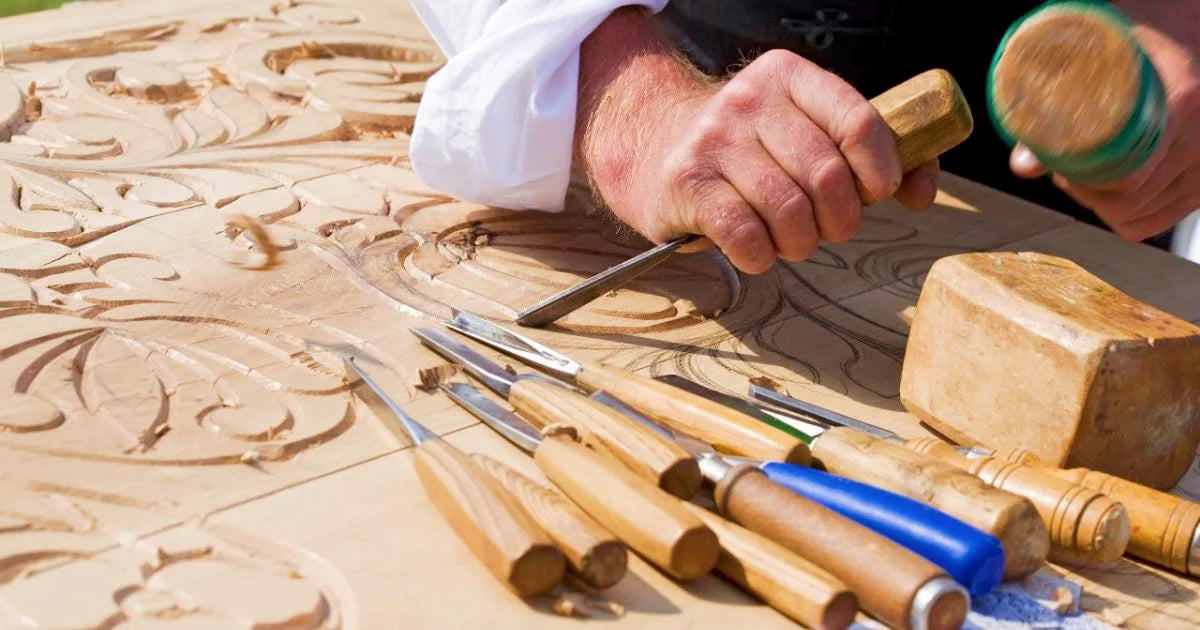
Strength training of chisel and hammer
Technique of using hammer
Hammers and chisels are tools used to carve harder materials (such as stone, wood, etc.), and the control of power is especially important. If the force is too high, the hammer and chisel will produce a strong knocking force which will result in unnecessary waste of material. The correct approach is to aim the chisel at the area to be carved and then apply pressure with the hammer.
Tips for adjusting force
Wood is the most suitable material for practicing carving with chisel and hammer together. Start with a light tap and gradually get a sense of power, gradually increase the force of the tap and feel how the material reacts. For example, how much excess material is removed after a blow, and how the depth of the marks changes when carving. Because chisels and hammers are heavy, you also need to control the strength and stability of your wrist. Do not rely only on arm strength to hammer and cause muscle damage.
Strength Training for Pneumatic Engraving Machines
Why use a pneumatic engraver
A pneumatic engraver is the best engraving tool for beginners. It can be driven by pneumatic pressure, enabling the engraver to engrave at high speeds. Beginners can easily carve the desired line effect on the material by just holding the engraving pen. However, due to the high speed of the pneumatic engraving machine, if you do not have sufficient strength training to control it, you may over-engrave resulting in uneven engraving surfaces or too deep cut marks.
Training Methods
When practicing with the pneumatic engraver, it is recommended that you pick a metal plate to start training on. Set the machine to the right speed (the instruction manual will indicate which speed setting the pneumatic engraver should be set to for different materials), and then keep adjusting the air pressure and using different engraving heads during the engraving process to sense the combination of pressure and speed, and find out the optimal power output through continuous trial and error.
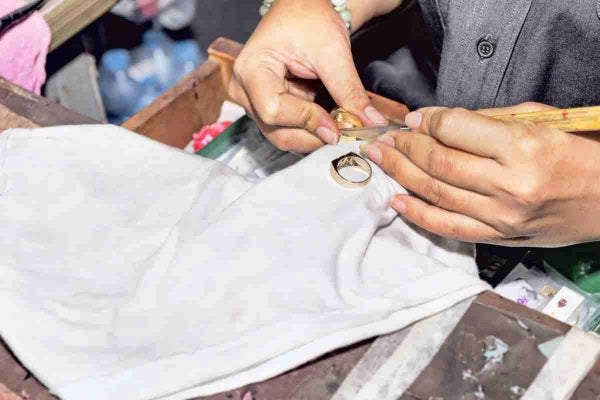
Strength training for grinding tools
How to do it
Once the carving is complete, tools for fine sanding, polishing and finishing of the finished piece using sanders, polishers and sandpaper are also required. Their primary function is to smooth the surface of the carving and remove excess material. Despite the relative simplicity of the operation, it is still very important to control the force. Excessive pressure can result in surface scratches and even damage to the piece.
Strength Training Tips
Practice rough sanding first, using as gentle a hand as possible, placing the sandpaper on the surface to be finished and rubbing it gently to avoid excessive force that would cause friction that would create too much abrasion. For sanders and polishers, you will need to use excess material to test how well the machine works at different speeds. With repeated practice, you will be able to use these tools without damaging your work.
Regardless of the carving tool, strength training is an integral part of the art of carving. It is only through constant practice that the carver will be able to gain precise control of the power in his operations and thus create more exquisite works. We hope that the strength training methods provided in this article can help you master the use of different carving tools, so that your carving road is smoother.