
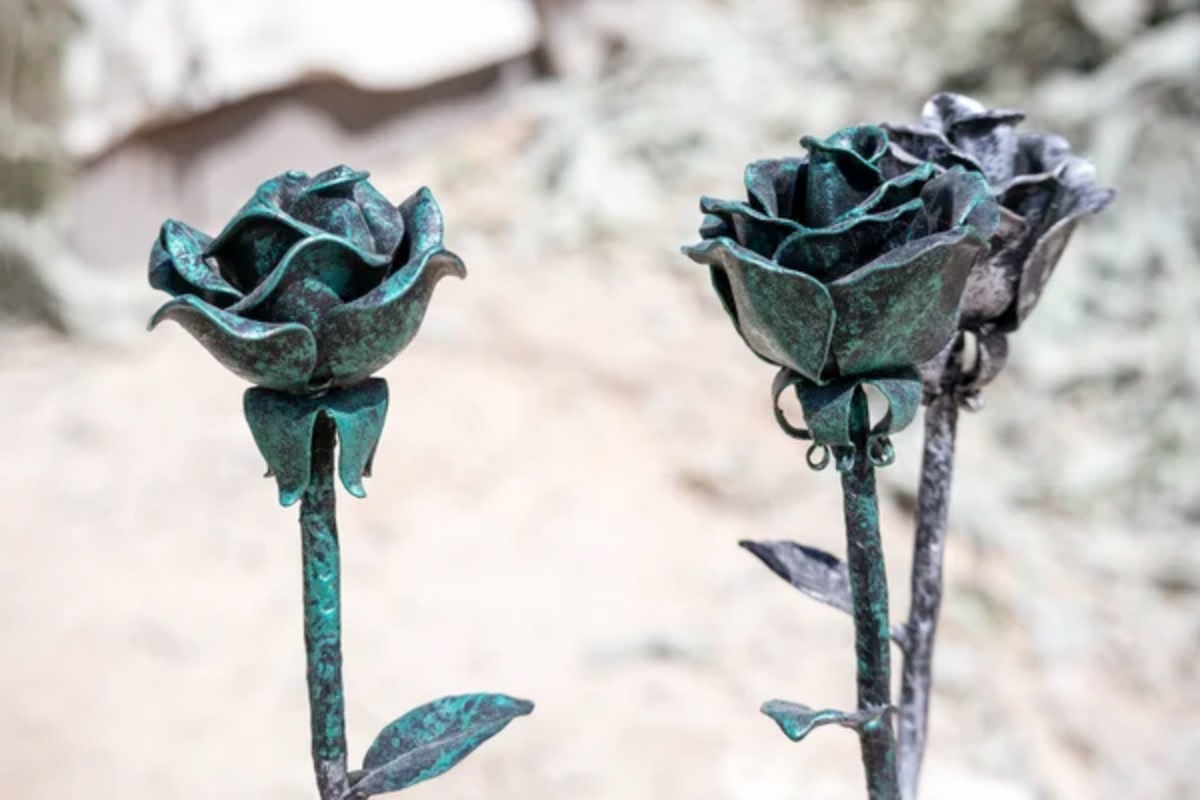
Last Friday, I stared at the rose I’d just finished engraving, examining it closely. The layers were right, the color was perfect, but it just didn’t look right. A engraving friend looked at it and laughed: “That’s not a rose. That’s a wedding cake decoration.”
Placing it on the windowsill, compared to the real rose next to it, every petal I carved looked stiff and lifeless.
Does this sound familiar?
Looking back at my early engraving, I noticed the same mistake appearing again and again—I wasn’t really observing the flower itself.
Why are most rose engraving so obviously “practice pieces”?
When we pick a real flower and touch its edges, each one is different. Some are so thin they’re translucent, others slightly thicker, and the edges always have a faint, almost imperceptible notch—either from insect bites or natural wear and tear from wind and sun.
However, the petals in our practice pieces are often sculpted so neatly that their thickness remains almost unchanged from base to tip, as if pressed from a mold. The edges are impeccably clean, without a single rough edge. The curling angles are also uniform, all the curves appearing as if copied and pasted.
In contrast, real flowers, when exposed to wind or sunlight, each fold takes on its own orientation. Some curl more sharply, some merely curl slightly upwards, and a few even droop limply, bearing slight scorch marks or water stains.
Around midnight one evening, I accidentally snapped off an outer edge while thinning it. I was annoyed at first, but after comparing it with a real flower, I realized the broken section actually looked more natural than the untouched petals beside it.
Beginners often use engraving machines too meticulously, striving for precision in every movement, which results in a loss of the natural, relaxed feel of a flower.
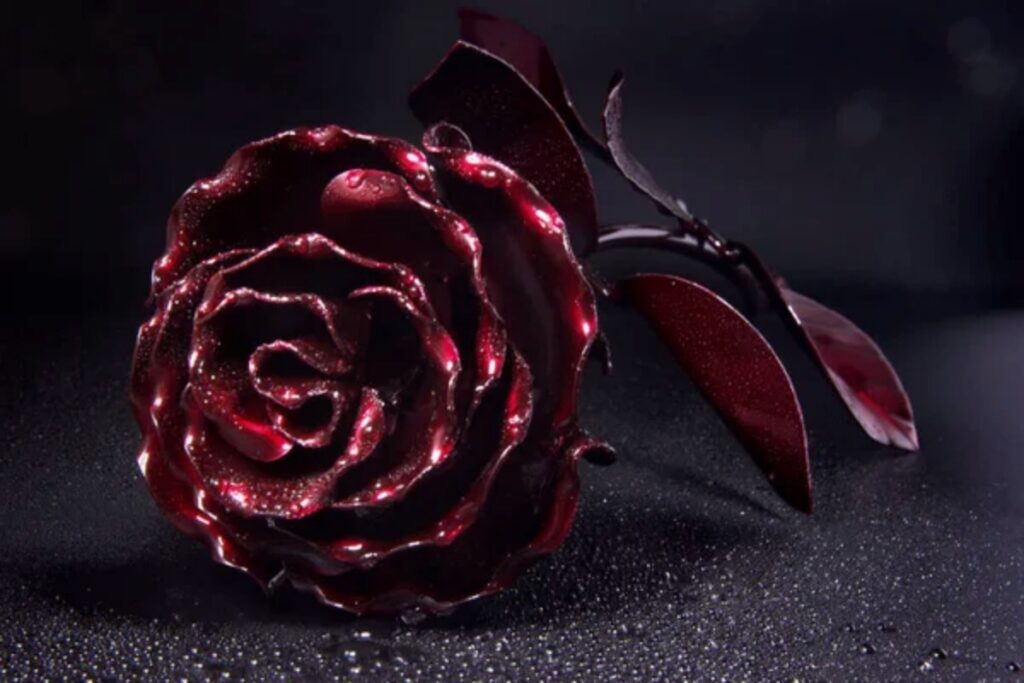
How to properly observe a real rose before engraving?
Take a fresh rose, but don’t rush to remove the petals. First, turn it around and examine the outer petals. The outer petals are often the oldest, with edges so thin they are almost translucent, and a gentle touch will reveal natural, irregular wrinkles. After looking at the outer petals, look at the very center, the petals that haven’t fully opened yet—they’re completely different—they’re tightly packed, layer upon layer, with a much stronger three-dimensional effect, each petal plump and full.
The way light falls across a flower can completely change what you notice. Place the flower by the window or under a lamp, and slowly rotate it to observe where the brightest part is and where the deepest shadow is. The brightest part is often the highest point of the petals, while the darkest part may be the folds or the gaps formed by overlapping petals.
The dried rose on the workbench taught me more than a fresh rose. When I examined it under a microscope, I discovered that its surface was covered with tiny bumps and dents that I had never noticed before.I still keep that dried flower in a small box near my bench. Every few months, I take it out and look at it again.
How to sculpt the “breathing” feel of flower petals?
Each flower has its own unique shape—thick near the center of the flower; gradually thinning towards the edges, interspersed with slight indentations or suddenly upturned corners. The upturned edges are especially important; that small section at the edge of the petal sometimes faces upwards, sometimes curls slightly towards the back, completely random.
I usually start close to the base and ease the pressure as the cut approaches the edge, following the natural curve of the flower.
Don’t try to make every cut perfect. Use very light, almost caressing, repeated cuts to build up the shape. Several light passes work better than one aggressive cut. With each pass, the petal gradually gains depth and movement.
Sometimes I stop halfway through a cut and look at the edge again. If everything starts looking too uniform, I know I’ve gone too far, and I should quickly make a small cut to the side to deliberately disrupt the smoothness and create a sudden indentation or a raised curve.
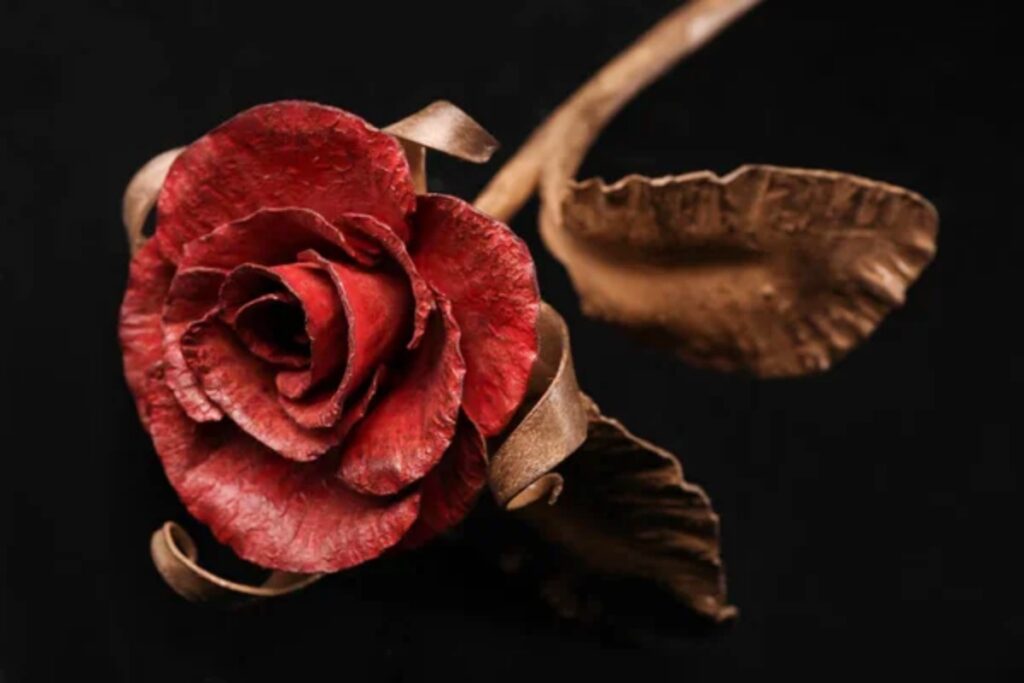
Why are the edges of roses most prone to failure?
There was a jade carver who spent two whole days engraving a rose. When he finally felt it was almost done, he turned it over to check the edges. He noticed that the outer edges of all the petals were thick, completely different from the thin, translucent edges of a real flower. He didn’t do it on purpose; he was just afraid of engraving through it or chipping the edges when he made his cuts, so he always left a safe thickness, resulting in rounded edges.
Eventually he stopped chasing perfectly smooth edges. Instead, he began introducing tiny irregularities that mimicked the wear and damage seen on real flowers.
After all that, the rose finally didn’t look like it was made of plastic anymore. Another carver picked it up, turned it around for a few seconds, and immediately pointed at the edge. “Too perfect,” he said.
Once, I was engraving a wooden rose with a pneumatic engraver machine. The edges were carved very carefully, stroke by stroke, from the base, without a single burr. But when you hold it up to the light, all the edges are smooth, flowing curves, as if drawn with a compass. A real rose, on the other hand, always has crooked edges.
Make tools an extension of your hands and eyes
After enough hours at the bench, your hands start to recognize how much pressure an edge can tolerate before it becomes too thin.
Under a microscope, details that looked insignificant to the naked eye suddenly become impossible to ignore.
The best rose I ever carved wasn’t the one with the cleanest cuts. It was the one that still looked slightly imperfect when finished.