
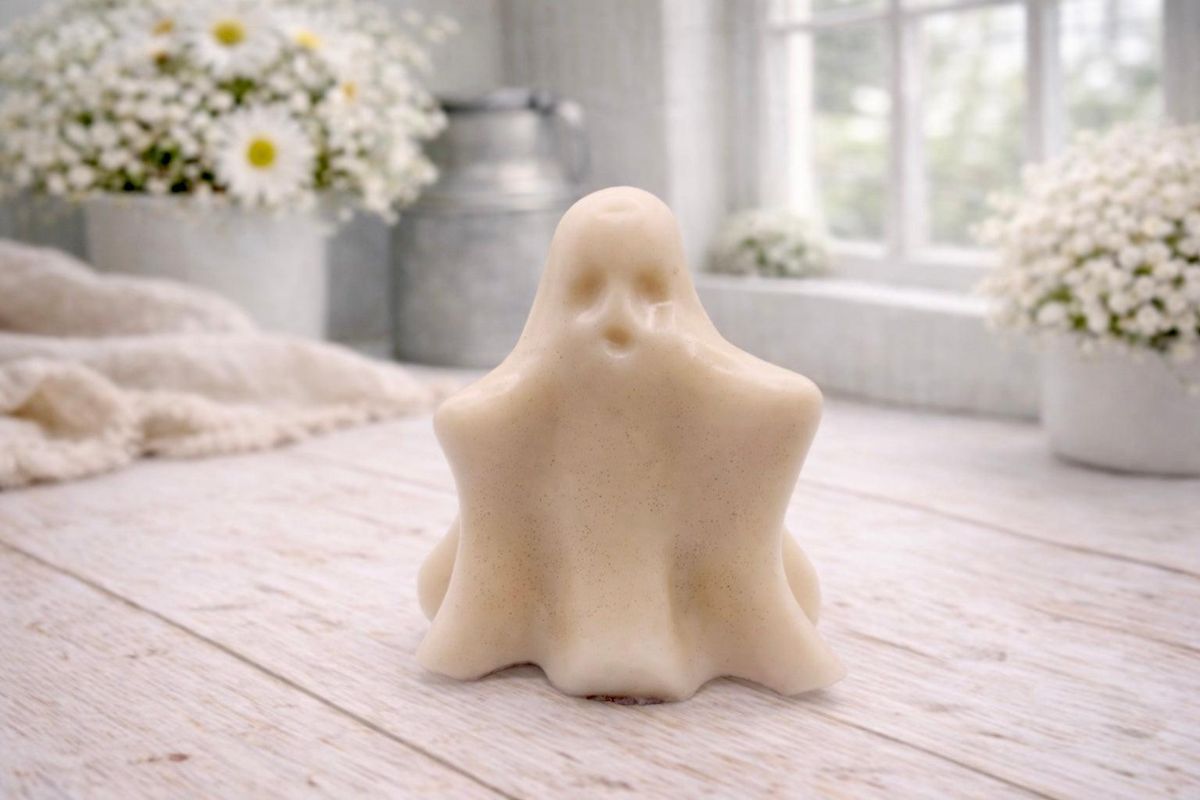
Halloween is the perfect excuse to get a little creative. If you’re looking for a small project that doesn’t take much time or space, why not carve your own ghost figurine?
You don’t need a big block of wood or a workshop full of tools. A bar of soap or another soft carving material can be enough to get started. With a few simple tools and a little patience, you can turn an ordinary block into a cute ghost for your desk or Halloween display.
Whether you’re new to carving or already enjoy working with small sculptures, here’s how to make a ghost figurine that’s simple, fun, and easy to personalize.
Choose the Right Material Before You Start
The material you choose can make a big difference in how easy the project feels. For a quick Halloween craft, soap is a convenient option. It’s inexpensive, easy to find, and soft enough to shape without much effort.
Choose a firm bar with a smooth surface. Very soft or crumbly soap can break apart as you carve, making it harder to keep the details neat. If you’re planning to make a few figurines, pick up an extra bar or two so you can practice before working on your favorite design.
You can also try other soft carving materials, such as carving wax or specially designed craft blocks. These materials come in different levels of firmness, so check the product details before choosing your tools.
For beginners, it’s best to keep the first design simple. A rounded head, a flowing body, and two eyes are all you need to create a recognizable little ghost.
Gather Your Carving Tools
You don’t need a complicated setup for this project. A few basic tools will help you shape the ghost and add the finishing touches.
- A bar of soap or a suitable soft carving block
- A pencil or fine-tip marker for sketching the outline
- Small carving knives or craft carving tools
- A fine detail tool for the eyes and mouth
- A soft brush to remove loose shavings
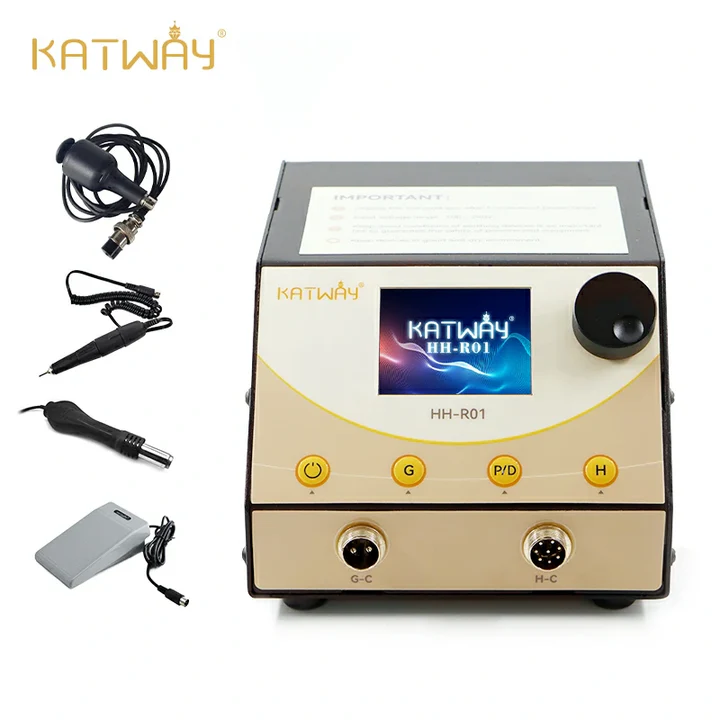
- A carving machine with suitable attachments, if your material and setup support one
If you have a pneumatic carving machine, it can help you work on small details and refine the shape more efficiently. Make sure the machine and attachments are suitable for the material you’re using. For a small soap figurine, hand tools may be all you need.
Before you begin, secure the material on a stable work surface. Keep your fingers away from the cutting path, and follow the tool manufacturer’s safety instructions. If you’re using powered carving equipment, wear the recommended eye protection and keep loose clothing away from moving parts.
Step 1: Sketch a Simple Ghost Shape
Start by drawing the basic outline directly onto the soap or carving block.
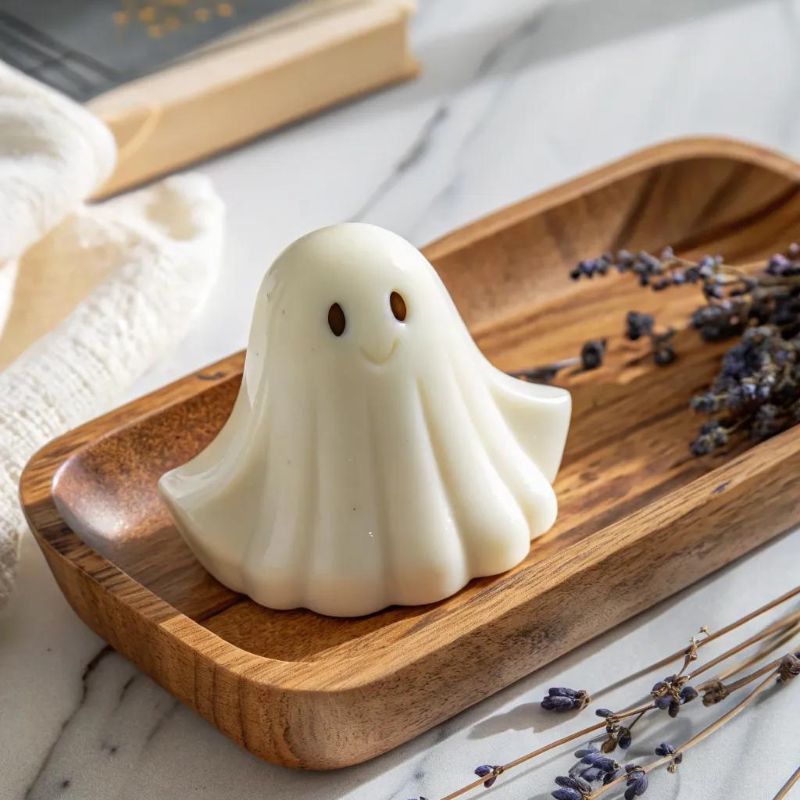
Think of a classic cartoon ghost: a rounded head, a body that gets wider toward the bottom, and a wavy edge that makes it look like it’s floating. There’s no need to make the outline perfectly symmetrical. A slightly uneven shape can give your ghost more personality.
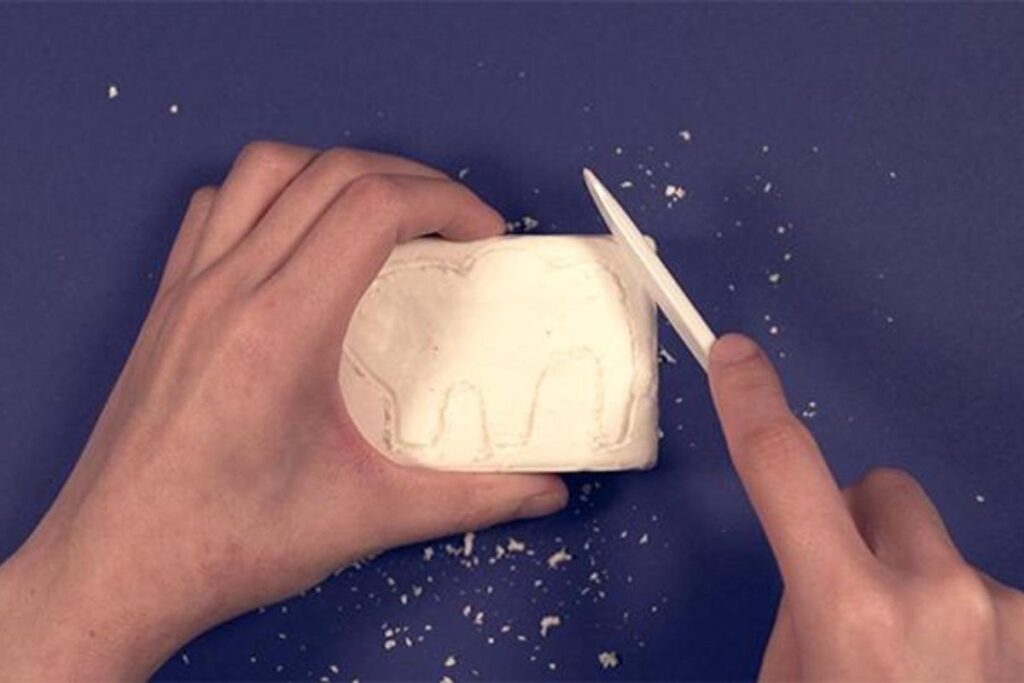
Keep the design fairly large and simple, especially if this is your first carving project. Tiny arms, narrow curves, and intricate facial features can be difficult to shape in a small block of soap.
Once you’re happy with the outline, take a moment to mark where the eyes and mouth will go. This gives you a clear guide when you start carving.
Step 2: Shape the Head and Body
Now it’s time to remove the extra material around your outline. Work slowly and take off small amounts at a time. Trying to cut away too much in one go can leave you with a broken edge or a shape that’s difficult to fix.
Begin with the outside of the ghost. Round off the top to form the head, then gradually shape the body underneath. Keep the bottom wider than the top so the figurine has a classic ghost-like silhouette.
If you’re using a pneumatic carving machine, turn on the carving machine only after checking that the attachment is secure and the workpiece is stable. Use a suitable low setting if the equipment allows it, and make light passes rather than pressing hard against the material. The goal is to refine the shape, not remove large chunks at once.
You can finish the broader curves with hand tools if that gives you better control. Rotate the piece as you work so you can check the shape from different angles.
Step 3: Add the Floating, Wavy Bottom
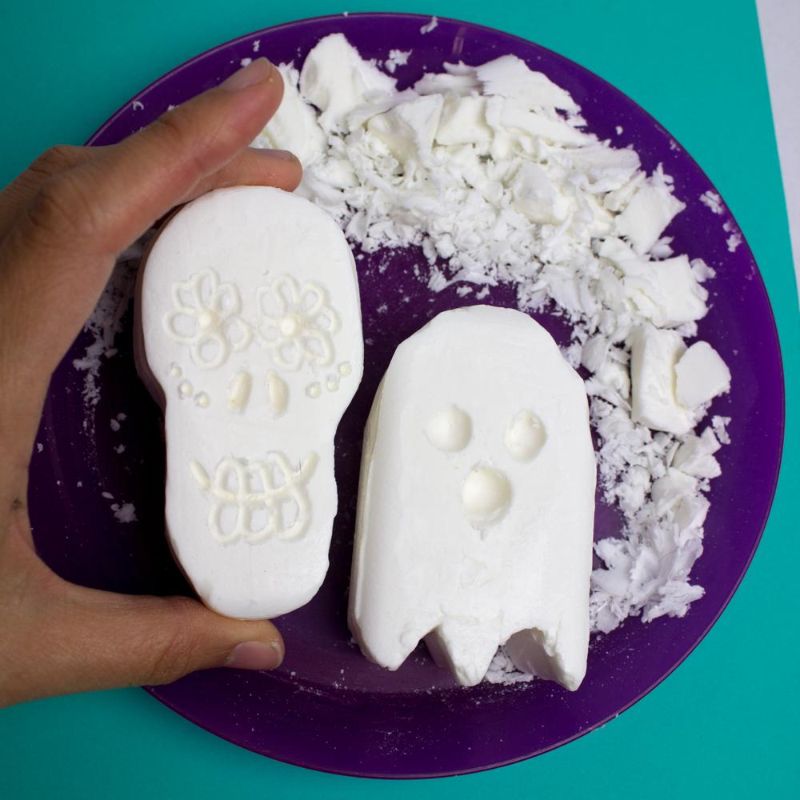
The wavy bottom is one of the easiest ways to make your ghost look like it’s floating instead of standing still.
Use a pencil to mark a few gentle curves along the lower edge. They don’t have to match. One side can hang lower while the other curls upward, creating the impression of movement.
Carefully carve along these marks, checking the shape as you go. Avoid making the narrow sections too thin, especially when working with soap. Thin edges can chip or snap if you put too much pressure on them.
Once the outline looks right, smooth any rough spots with a small carving tool. Keep the curves soft and rounded rather than making sharp, deep cuts. This gives the ghost a cleaner finish and helps it hold together.
Step 4: Carve the Eyes and Mouth
A ghost doesn’t need many details to look finished. Two eyes and a small mouth are usually enough.
Mark the eyes first, keeping them similar in size and spacing. Then use a fine carving tool to create shallow indentations. For the mouth, try a small oval if you want a surprised expression, or a short curved line for a friendly smile.
This is where a pneumatic carving machine can come in handy if you already have one and the attachment is appropriate for fine detail work. Turn on the carving machine and use gentle, controlled movements to refine the small features. Don’t rush this step. Facial details are small, so even a slight change in shape can affect the expression.
If you’re new to carving, hand tools may actually feel easier here. You can also skip carving the features altogether and draw them on with a marker after the surface is clean and dry.
Step 5: Smooth the Surface and Finish Your Ghost
Take a close look at the entire figurine. Are there any rough edges? Does one side look noticeably heavier than the other? Are the eyes positioned where you want them?
Use a small tool to make any final adjustments. Brush away loose shavings and handle the piece gently, especially if you’ve carved it from soap.
If you want a more polished look, keep the surface smooth and the details simple. You can leave the ghost plain white for a classic Halloween style or add a few small details with materials suitable for your carving medium.
Let the figurine rest in a dry place before displaying it. Soap can soften or change texture when exposed to moisture, so keep your finished piece away from water and damp surfaces.
Easy Ways to Give Your Ghost More Personality
Once you’ve mastered the basic shape, you can make a few small changes to create different characters.
A cute ghost: Give it large, round eyes and a tiny smile. Keep the body short and rounded for a friendly look.
A spooky ghost: Use narrower eyes, a longer body, and a slightly uneven bottom edge. A simple expression can make the whole figurine look more mysterious.
A floating ghost: Raise one side of the lower edge and let the other side curve downward. This creates a sense of movement without requiring complicated carving.
A ghost family: Make several figurines in different sizes. A group of small ghosts can look great on a shelf or as part of a Halloween centerpiece.
You can also experiment with different soft carving materials to see how they affect the final result. Some are easier to shape, while others hold fine details better. Always choose tools that are compatible with the material.
Common Mistakes to Avoid
One of the biggest mistakes beginners make is removing too much material too quickly. Start with the overall shape and save the small details for later. It’s much easier to remove a little more material than to fix a section you’ve accidentally carved too deeply.
Another common problem is making the edges too thin. Soap and other soft materials can break if the narrow parts are too delicate, so keep the lower curves thick enough to support the figurine.
Don’t worry if your first ghost isn’t perfectly symmetrical. Handmade decorations look more interesting when each piece has its own character. A slightly crooked smile or an uneven floating edge can make your ghost look even more charming.
Finally, don’t feel like you need powered equipment to get good results. A few sharp, suitable hand tools and a simple design are enough for a small project. If you do use a carving machine, take your time and prioritize control over speed.
Make Your Own Little Halloween Ghost
Carving a ghost from soap or another soft material is a simple way to try your hand at sculpting without investing in a large project. You can finish a basic design in a relatively short session, and the process leaves plenty of room to experiment with different expressions and shapes.
Start with a simple outline, shape the body gradually, and save the facial details for last. With a little practice, you’ll have a handmade Halloween decoration that’s ready for your desk, bookshelf, or seasonal display.
And remember, your ghost doesn’t have to look perfect. Sometimes, the quirkiest little creation ends up being the most memorable one.