

Every step in the journey from a blank piece of metal to a finished engraving determines the quality of the final result. Many beginners are too eager for quick results and skip crucial steps, diving straight into the cutting process; this often leads to messy lines, poor proportions, or even the ruin of the entire workpiece. The following five steps outline a complete workflow that novices can adopt.
Step 1: Choose a pattern suitable for beginners
Avoid complex animal portraits or intricate scrolling vine motifs; instead, start with simple natural elements.
Recommended patterns: leaves, simple flowers, feathers, and geometric designs.
These basic patterns allow for the systematic development of three core skills: executing long curves (such as leaf veins or feather shafts), handling turns (like the curvature of petals or the tapering tips of leaves), and creating tonal variations (to convey the three-dimensional form of different parts of a leaf).
It is recommended to practice on a copper plate first, as the material has a moderate texture that is easy to control. Sketch the design onto the metal surface with a pencil and verify it before making any cuts. You can practice the same curve repeatedly before starting the actual engraving until your hand feels steady.
Depicting animal faces involves complex skeletal structures and the like, which can easily frustrate beginners. In contrast, starting with leaves or flowers offers more leeway; even if the lines are not perfect, the natural forms themselves are forgiving, allowing the work to retain an unadorned, rustic beauty.
Step 2: Prepare the metal and secure the workpiece
Newly purchased metal sheets are often coated with a layer of industrial grease or oxides. If you begin engraving without addressing this, the tool may slip across the surface, resulting in crooked lines and inconsistent depth. The correct approach is to first thoroughly clean the metal surface with a degreaser or alcohol to remove any oil or grime, then lightly abrade the surface with fine-grit sandpaper or a sanding pad to increase friction and eliminate glare.
What are the consequences of the workpiece wobbling? At best, the resulting lines may be crooked or uneven in depth; at worst, the engraving tool could slip off its intended path, marring areas outside the design or even causing injury to the hand. Professional engravers most commonly use an engraver’s ball vise. During the process, the engraver uses their left hand to rotate the vise, positioning the workpiece for the most comfortable cut, while the right hand holds the tool to perform the engraving.
Step 3: Carve the main body first, then the details
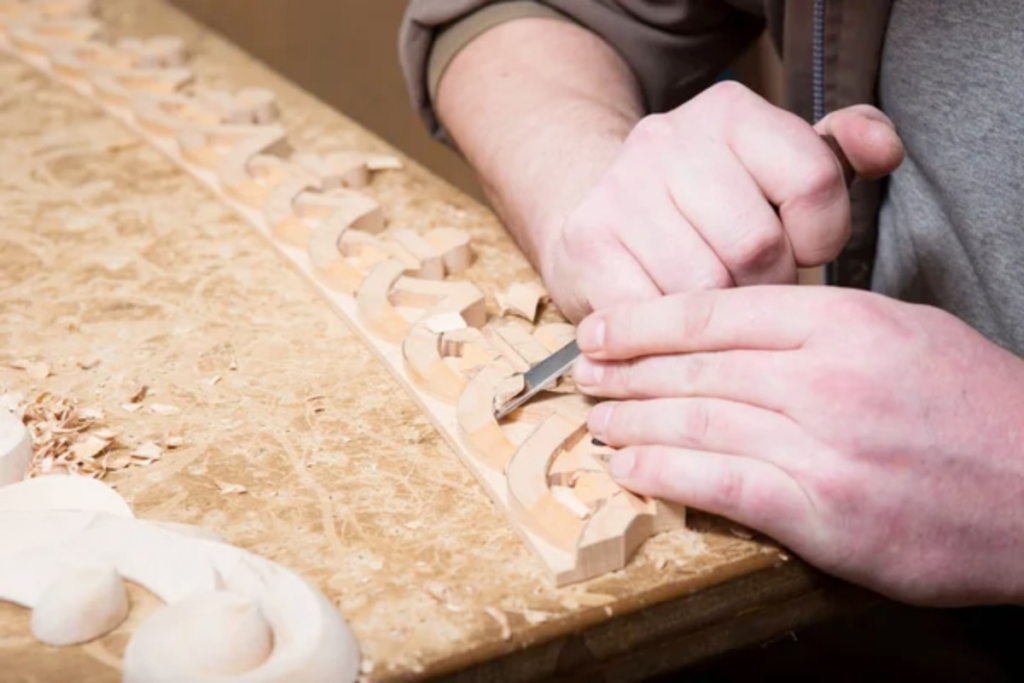
After the pattern is drawn, the correct order is: first the whole, then the parts; first the outline, then the texture.
The first step in cutting is to determine the overall proportions. Use a carving knife to lightly outline the outline of the piece, confirming the placement of the pattern on the metal. The second step is to carve out the main outline. For example, when carving a leaf, you first carve out the outer edge and main veins of the leaf – this determines the shape and structure of the work. The third step is to deal with the main level – the undulations and front-to-back relationship of the leaves, so that the flat pattern begins to appear three-dimensional. Finally, there are the textural details—the branches of leaf veins, the texture of the surface, etc.
Step 4: Continuously check for consistent line depth
Every few minutes, put down your tools and step back to view the piece as a whole. Hold the work up to your eyes and examine the depth of the lines from various angles. Gently run your fingers over the surface to feel whether the depth of each cut is uniform. If you notice a section that is noticeably deeper or shallower than the rest, adjust the pressure of your next cut accordingly.
At this stage, one can introduce an advanced tool: the microscope. Professional engravers often use microscopes to examine the details of their lines during intricate work. While beginners do not necessarily need to purchase a microscope right away, they can use a magnifying glass or their smartphone’s macro photography function to periodically check the quality of their lines.
Step 5: Final Background Treatment and Polishing
A smooth, clean background allows the main design to serve as the visual focal point.
Background treatment typically involves two stages: leveling—using a flat chisel or scraper to shave down the background area so it sits lower than the main design, creating a relief effect; and matting—using sandblasting or sanding to create a uniform matte finish, preventing reflections from distracting the eye.
During the carving process, every cut leaves tiny burrs along the metal edges. While often invisible to the naked eye, they feel rough to the touch and can create unnatural reflections under light. These burrs are removed by progressively sanding from coarse to fine grit, followed by a final polishing step using a polishing cloth or compound.
The final step is thorough cleaning. Using a soft cloth dampened with alcohol or a specialized cleaner, wipe away all sanding dust and polishing compound residue from the surface of the piece.
Advanced Advice on Pneumatic Engraving Tools
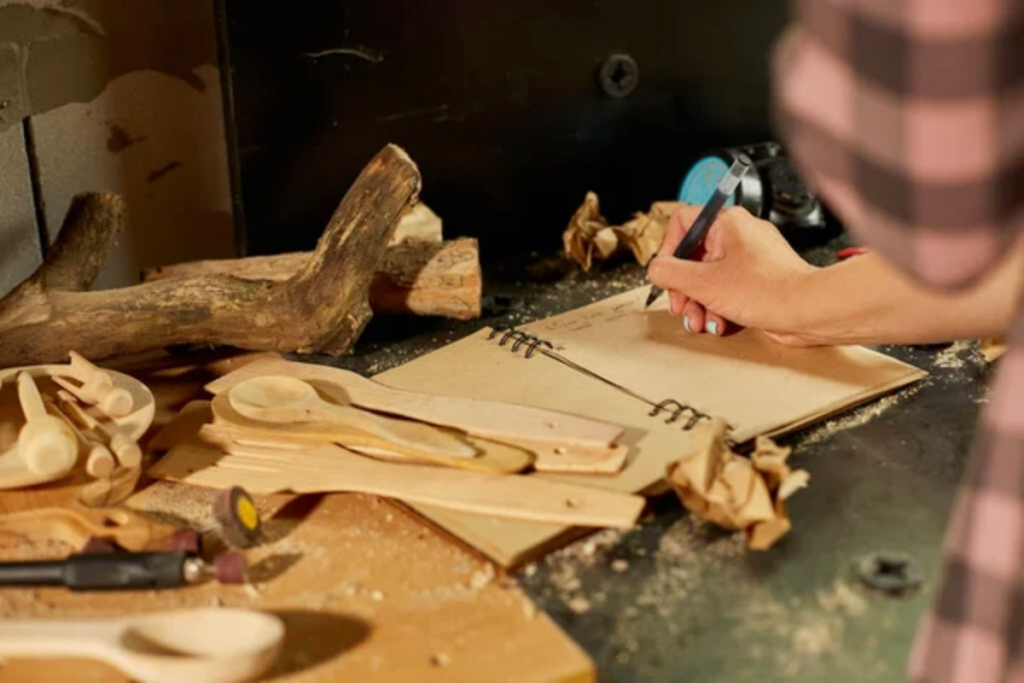
Traditional hand-push engraving tools can cause fatigue during prolonged use. In contrast, pneumatic engravers use compressed air to drive the cutting tip in high-frequency vibration; the engraver simply guides the direction of the tool, while the cutting force and frequency are managed automatically by the device.
For projects requiring extended work sessions or highly consistent lines, pneumatic engravers can significantly reduce physical exertion and improve the quality of the finished piece. However, beginners trying their hand at engraving for the first time are advised to start with purely manual techniques; only after establishing a solid foundation should they consider incorporating a pneumatic engraver as an assistive tool.