
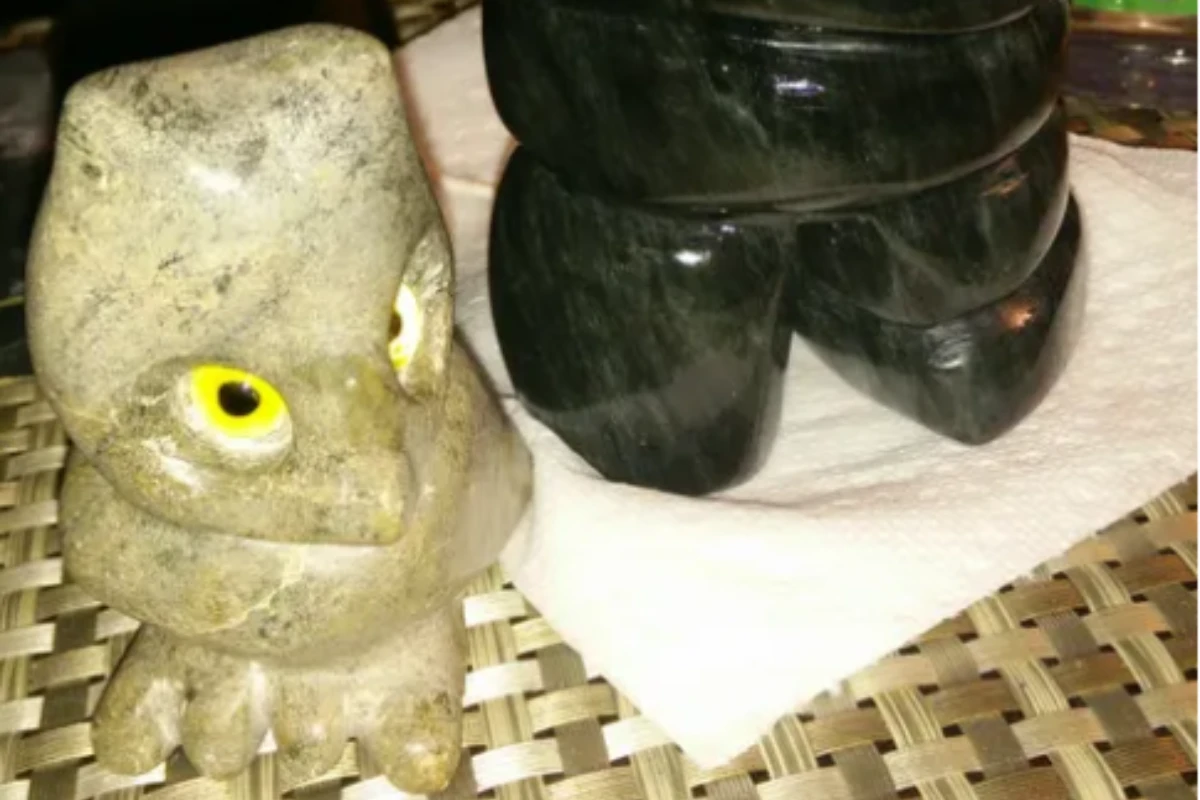
When beginners start carving their first craft project, they can try soapstone carving, which is easy to get started with. In Northern Indigenous communities, soapstone carving has long been a traditional pastime and art form. You can find many stores that sell soapstone carvings from different regions and cultures. It doesn’t require many carving tools; you can complete the project entirely by hand with just a few hand-carving knives.
Step 1: Selecting Soapstone
Soapstone is actually talc. On the Mohs hardness scale, talc is the softest rock, while diamond is the hardest. Any bump or scratch can damage soapstone. You can even leave a mark on its surface with your fingernail. Because it’s such a soft rock, beginners can easily achieve their desired designs without needing to apply excessive force or advanced carving techniques.
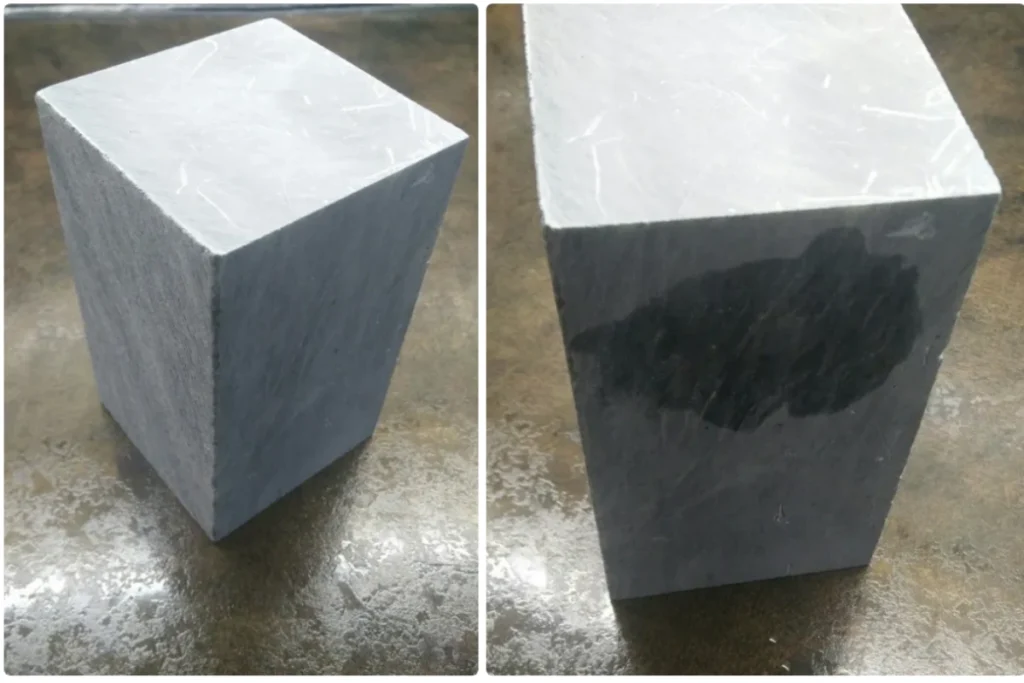
However, there are many different types of soapstone. The best way to judge its appearance is to wet it. Keep this in mind when selecting soapstone. You can find soapstone like the one shown in the picture at various art supply stores and online (a clear watermark will appear on the surface of genuine soapstone when it comes into contact with water).
But not all soapstone is the same—counterfeit soapstone can affect the carving results. Therefore, it’s essential to verify that the soapstone is genuine before you begin carving.
Step 2: Gather the Basic Tools
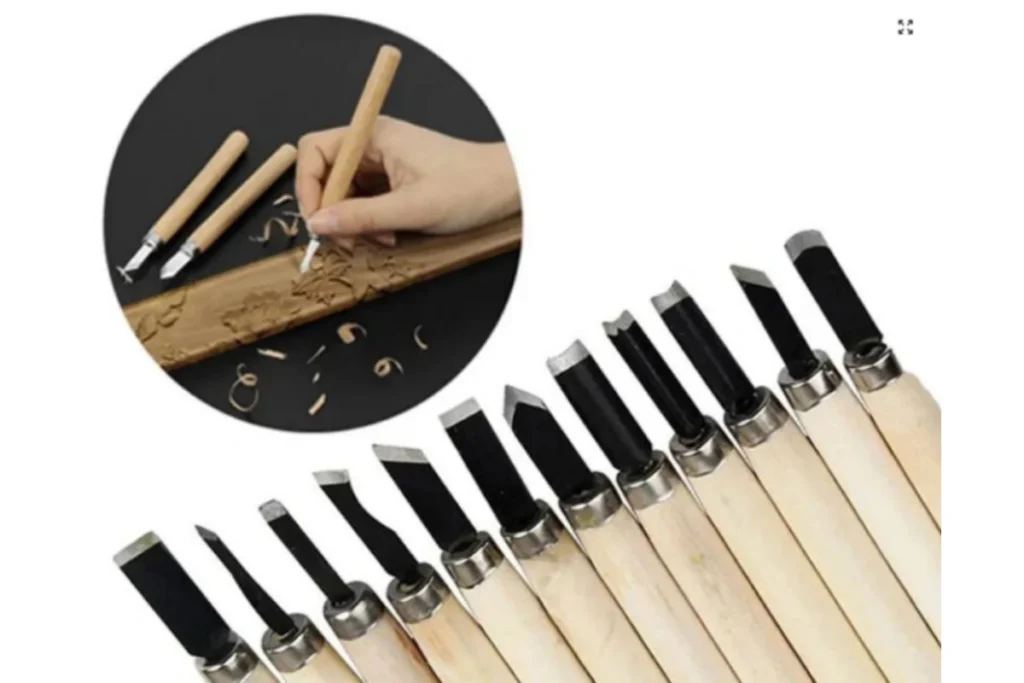
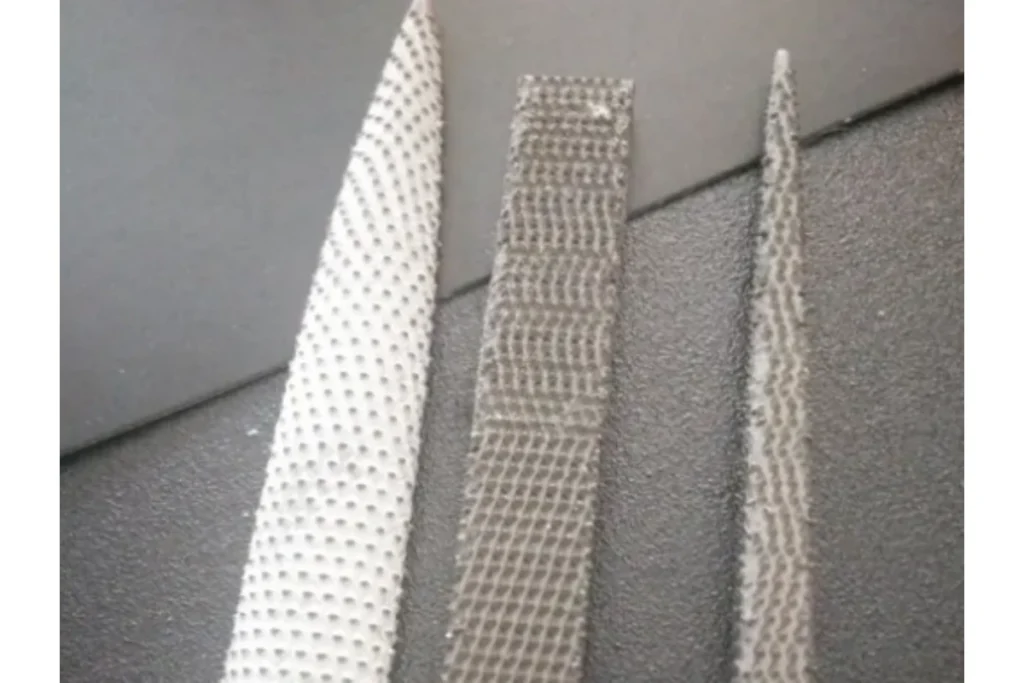
Tools: Files and rasp—used for carving soapstone. You can find tools in various sizes and shapes. There’s no need to buy the most expensive set; any set will do. Depending on the level of detail I want to achieve, I’ll use a combination of files and rasps. Sandpaper of various grits, including waterproof sandpaper—as you progress through the later stages of your project, you’ll gradually use finer grits, eventually moving on to wet sanding. I recommend using 60-grit, 100-grit, and 200–300-grit sandpaper for wet sanding. If you can find sandpaper with a higher grit, that’s even better. You’ll also need a bucket or basin to hold water for sanding.
Step 3: Prepare Your Materials
Materials: Mineral oil or baby oil (unscented), an apron, a dust mask, safety goggles, and a pencil.
Key Points: Filing soapstone produces dust. These dust particles are extremely fine and can be inhaled or get into your eyes. When carving soapstone, be sure to work in a well-ventilated area and always wear a dust mask and safety goggles. You can remove your protective gear during wet sanding. I usually work outdoors while wearing all protective gear.
Step 4: Sketching the Design—Inuksuk
In this tutorial, I’ll teach you how to carve an inuksuk. An inuksuk is a human-shaped structure built from stones by many Arctic peoples, symbolizing home and community.
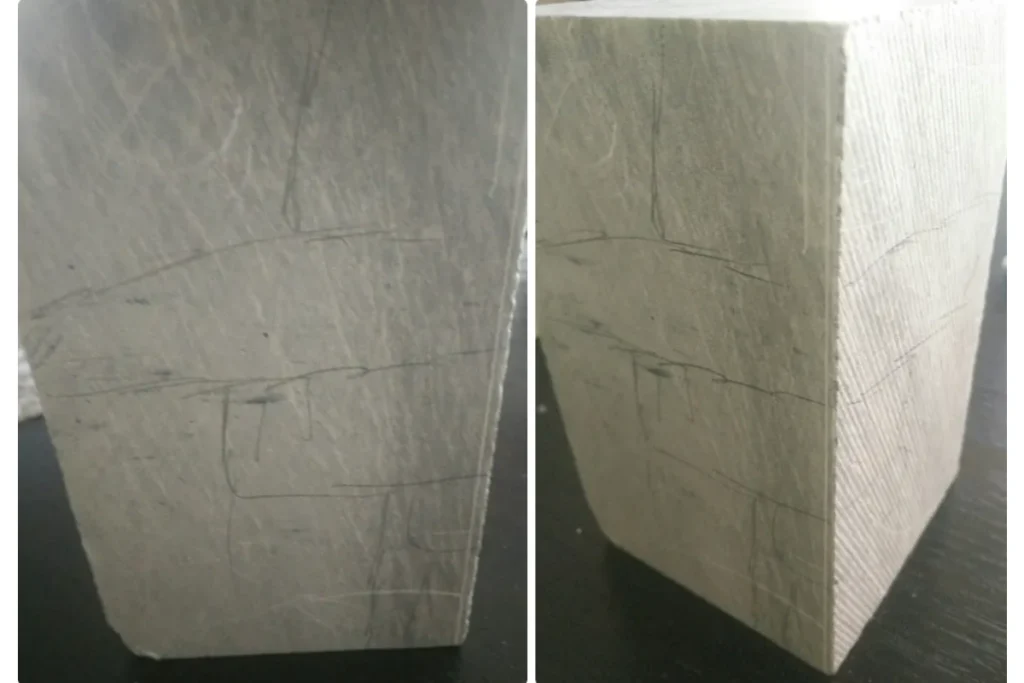
When sketching your design, you’ll need to consider all six sides of the stone. Sketch your design with a pencil.
Step 5: Start Carving — File
Put on all your safety gear and an apron. You’ll soon discover that soapstone carving creates a lot of dust. Use a file to start carving along the pencil lines.
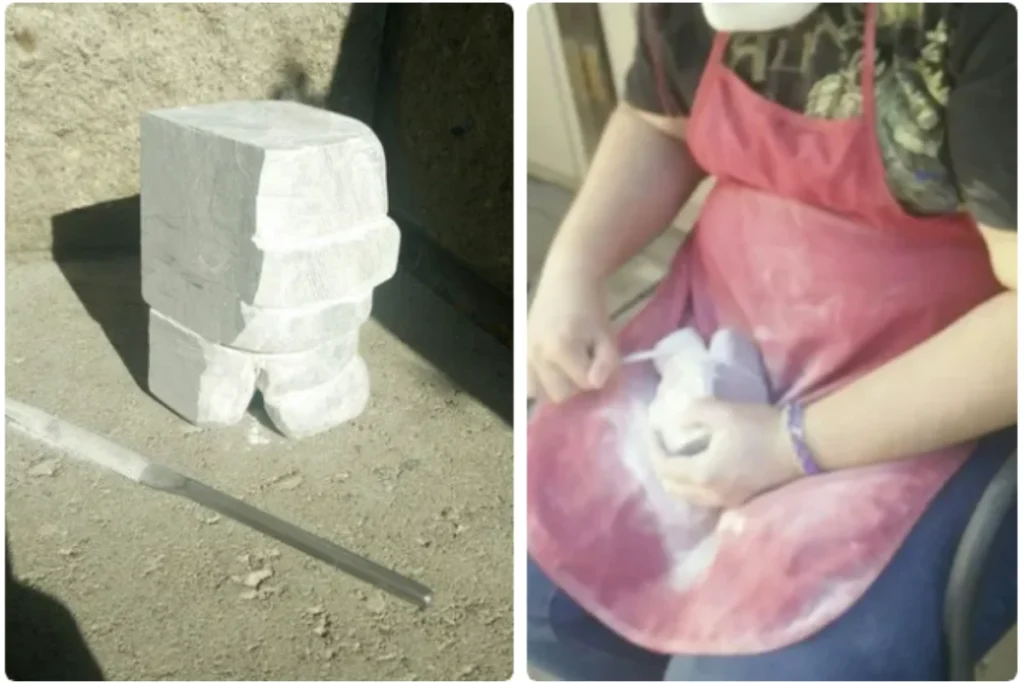
Take frequent breaks. If you’ve never tried soapstone carving before, or if it’s been a long time since you last carved, your hands and arms will get sore.
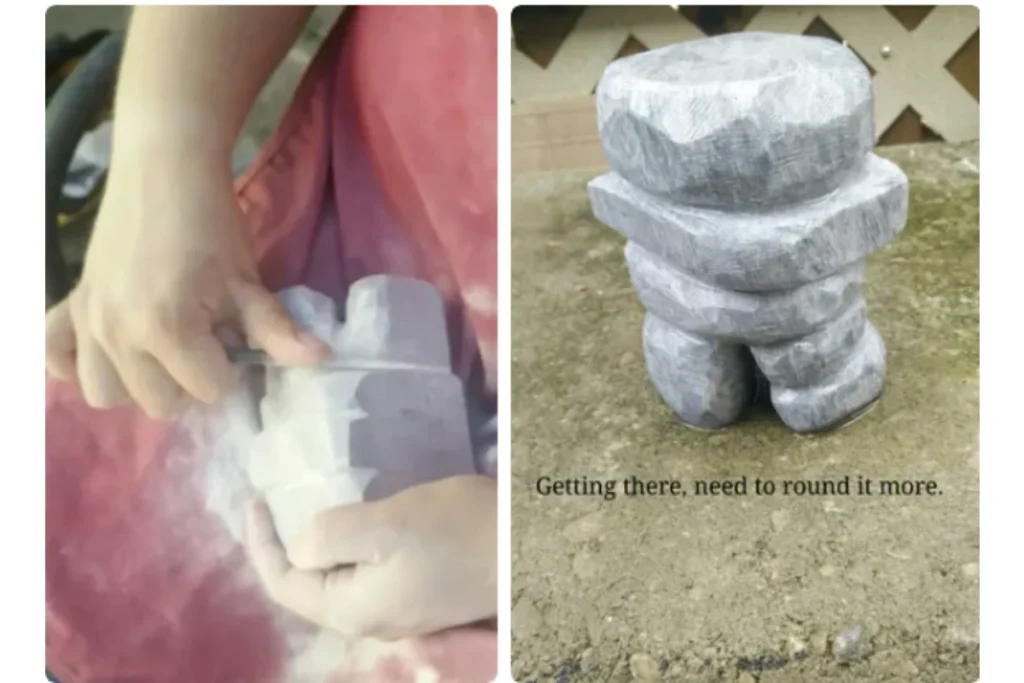
Step 6: Carving with a File
When your carving is close to the sketch lines, or when you’re satisfied with the shape, switch to a file. A file gives you better control during the carving process, allowing you to achieve the desired shape. It also smooths out the marks left by the chisel. Continue using the file until you’re satisfied with the shape.
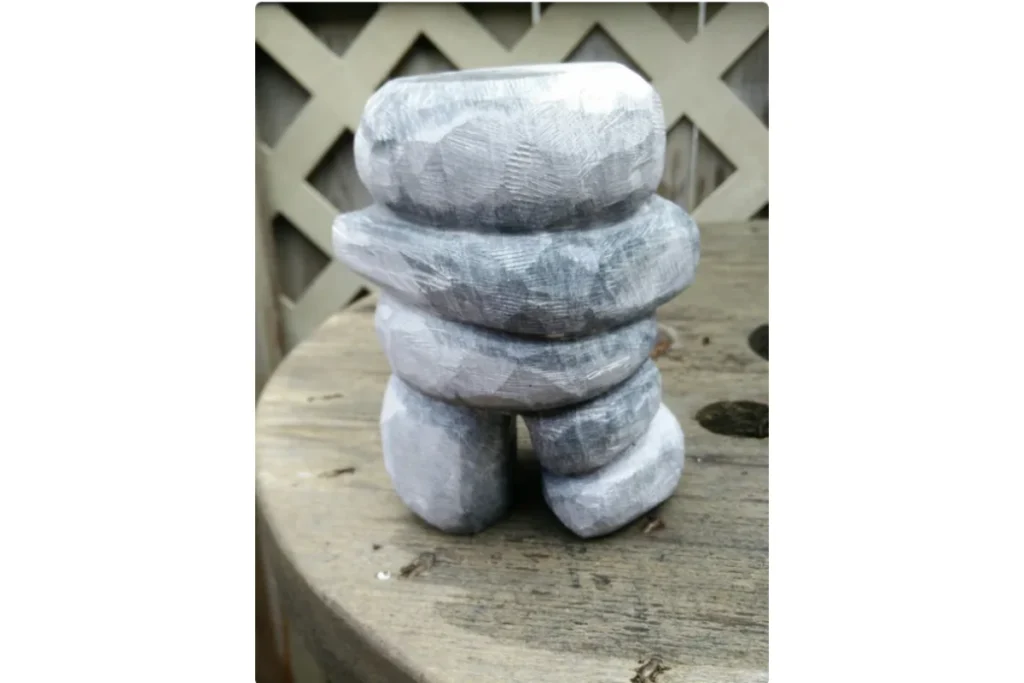
Step 7: First Round of Sanding
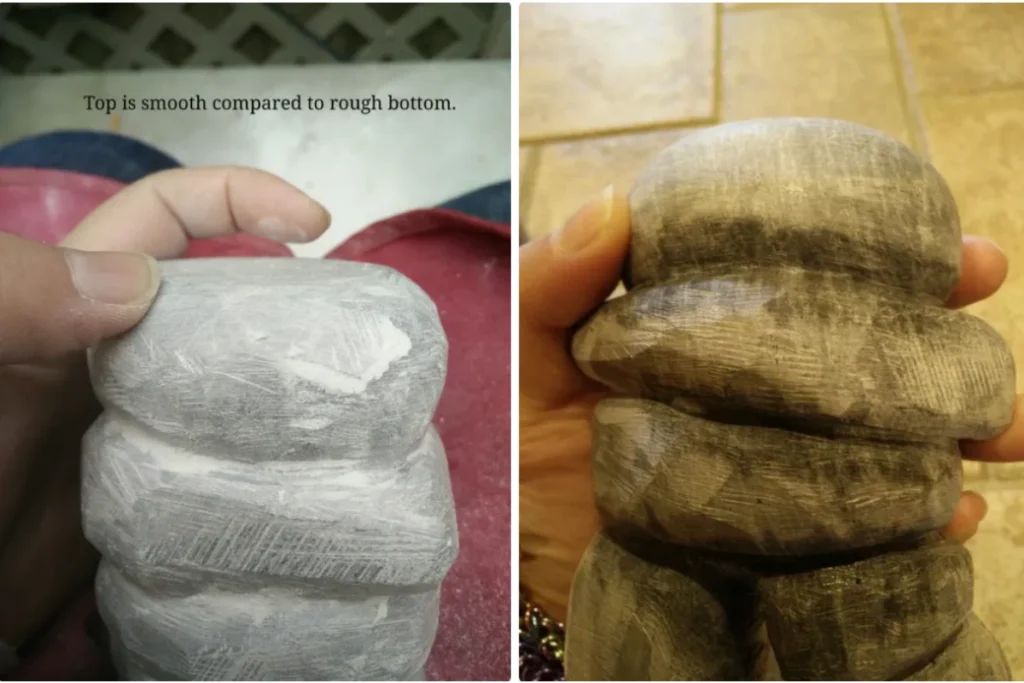
Use the coarsest sandpaper to sand the entire carving. Sanding reduces surface roughness. You should be able to feel the surface becoming smoother and smoother.
Step 8: Second Round of Sanding
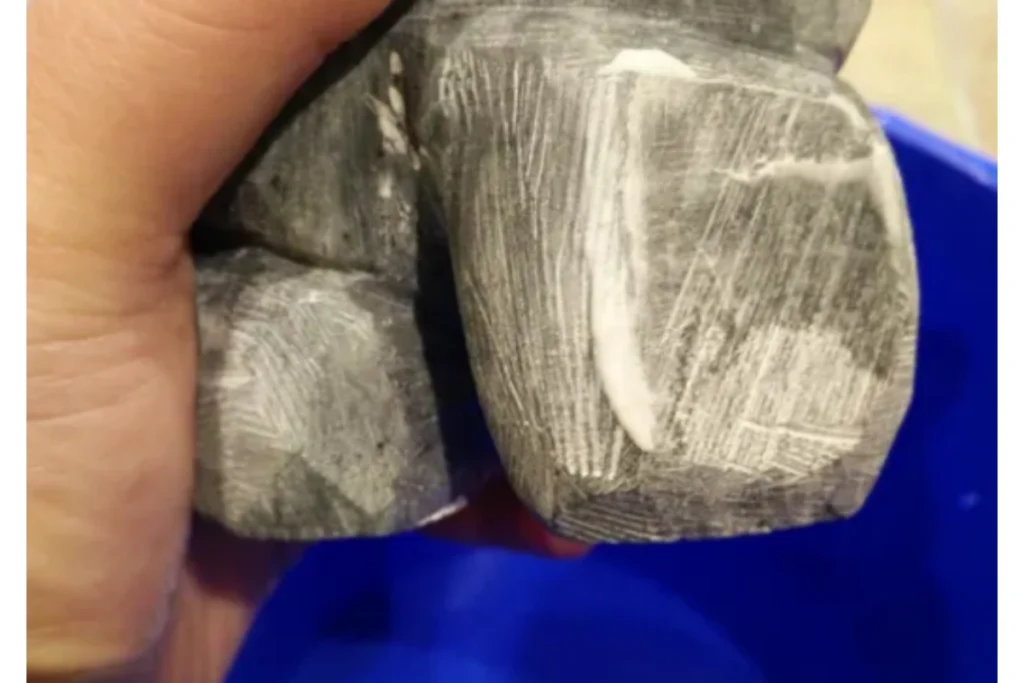
After sanding the entire carving, switch to finer sandpaper. A good way to tell when you’re ready for the next step is when the file marks have completely disappeared. You can think of sanding as “erasing” the file marks. Continue sanding the entire carving.
Step 9: Wet Sanding
Now you can remove all protective gear, as wet sanding does not produce flying dust. I recommend using two different grits of sandpaper, though you can certainly use just one (it will just take longer).
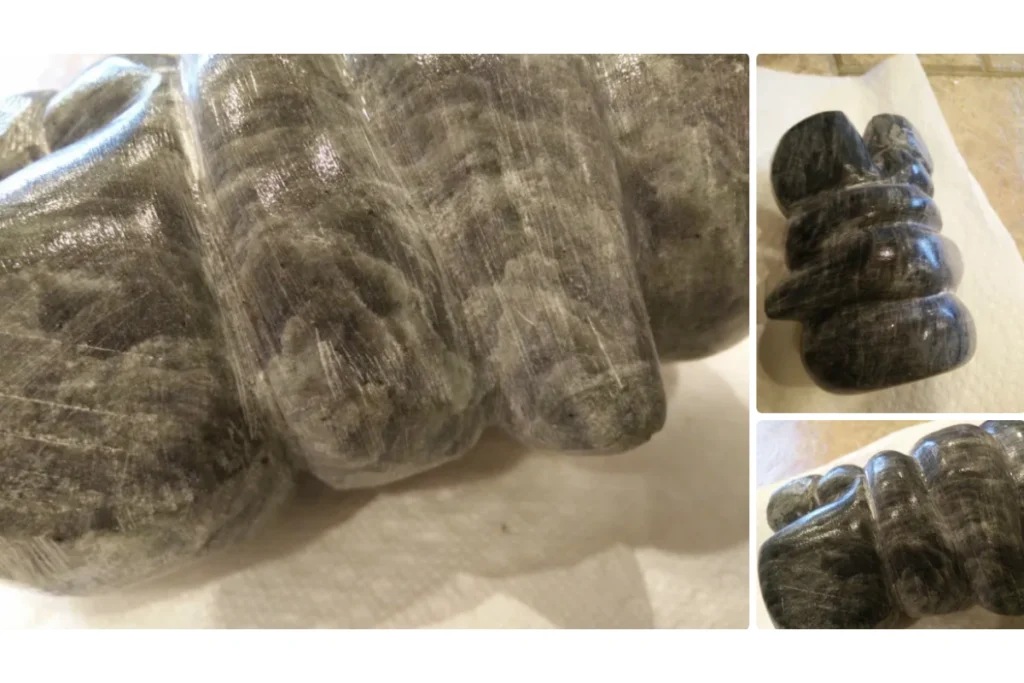
Fill a basin with water and wet both the carving and the sandpaper. Begin sanding the damp stone. As you sand, you’ll notice two things: first, the surface becomes as smooth as marble, and second, debris gradually accumulates on the sandpaper. When the debris builds up to a certain extent, or when you want to check the smoothness, submerge the carving in the basin to “rinse” it.
Continue sanding until you’re satisfied with the smoothness of the carving. If you have finer-grit sandpaper, repeat the steps above. When finished, let the carving dry completely.
Step 10: Oil Finish
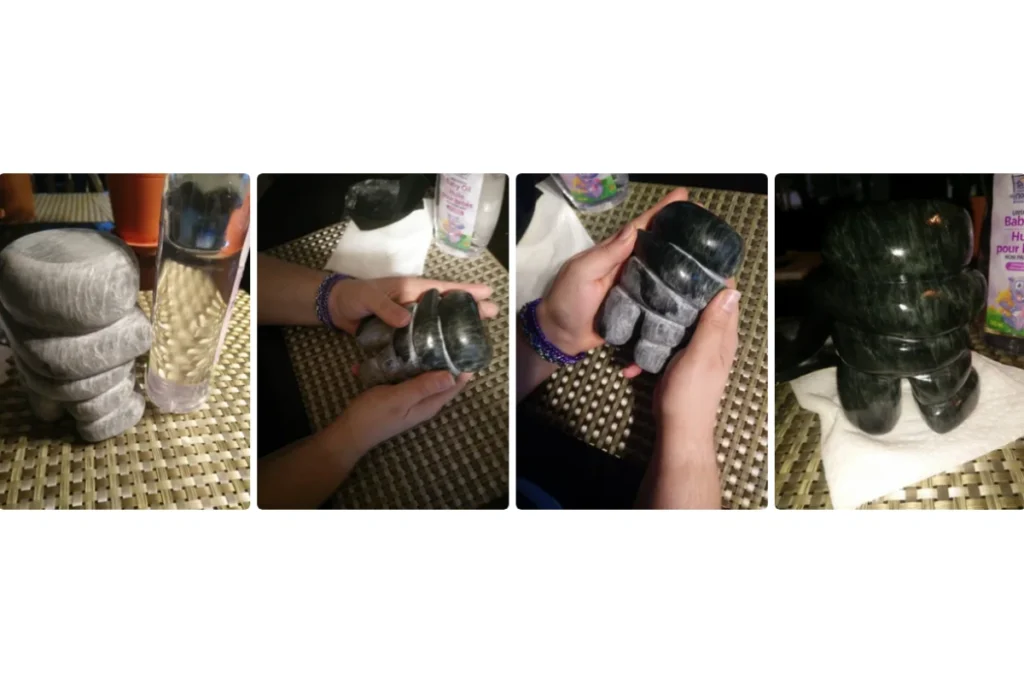
Before proceeding with this step, make sure your carving is completely dry. Like wood, soapstone readily absorbs oil. We’ll apply the oil by hand, using the warmth of your hands to help it absorb. Place a small amount of oil in the palm of your hand, then rub it into all parts of the carving. Rub thoroughly so that the warmth of your hands transfers to the stone. This will help you identify any areas that may have been missed. Once you’ve achieved the desired effect, let it sit for a moment, then repeat the process. Apply the oil at least three times to ensure it’s fully absorbed.
Step 11: Keep Your Carving Looking Its Best!
Now that your carving is complete and the oil hasn’t worn off, you can find a nice spot to display your artwork. If you notice the carving looking dull, apply more oil and let it absorb fully. Some of my pieces need to be re-oiled after a few years. Does it really look that good? The answer is yes. The glossy oil builds up on the piece, giving it a unique sheen.
Stay Calm When Dealing with Carving Problems
If your carving falls, gets scratched, or breaks, you can easily repair it. If it’s just a small chip, you can glue it back together with super glue. As for scratches, you can sand them down with wet sandpaper and then reapply oil to restore it. Happy carving!