
As carved artwork becomes more and more popular in today’s market, a lot of people have started thinking about learning carving themselves. But, carving is a skill that takes plenty of time, patience, and dedication to master. If beginners want to learn carving, they not only need to prepare properly but also keep exploring different techniques to improve their abilities. However, following traditional learning methods alone can sometimes feel overwhelming. So beginner carvers need to pick up a few simple carving techniques. The easy tips introduced in this article can help make learning carving less intimidating.
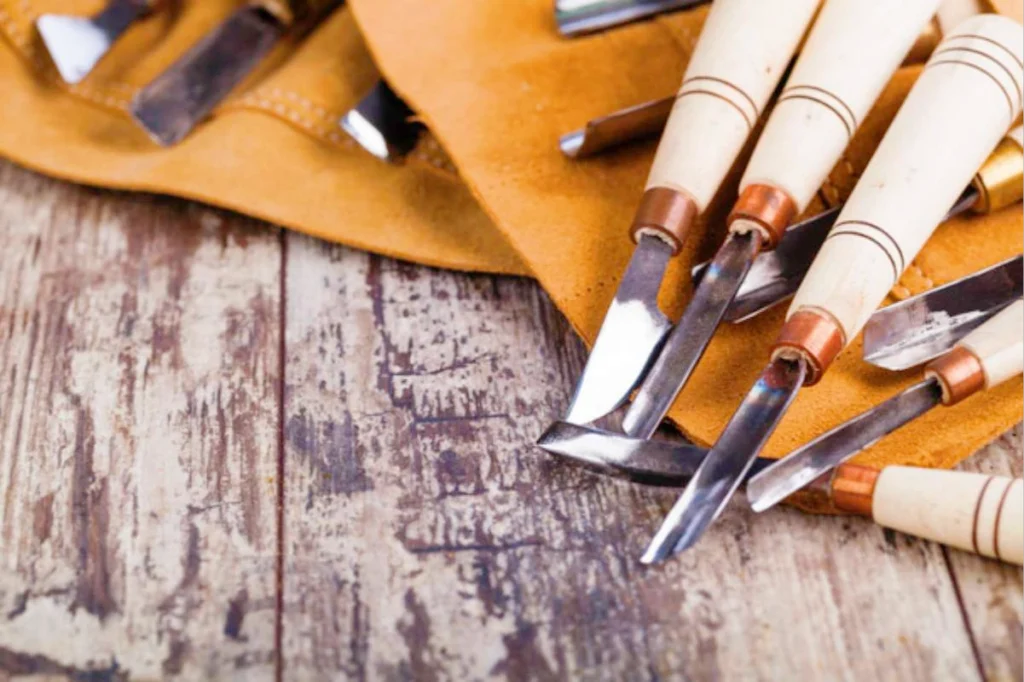
Get Your Basic Tools Together
When you’re new to carving, the first thing you’ll want is a set of tools that actually suit you. You don’t make a workshop packed with every engraving machine and fancy gadget out there—like what you’d see in a master carver’s studio. Just grab the basics to kick things off.
Carving knives: Get a few with different blade shapes—V-gouges, U-gouges, flat chisels, and round ones. Each does a different job when it comes to handling fine details.
Sandpaper: Prepare a few sheets of regular sandpaper. They can help to smooth the surface and make the work smoother.
Clamps: These keep your material steady while you work, and they also make things safer. If you can, go for professional-grade clamps.
Safety gear: Don’t skip this—safety glasses, a dust mask, protective gloves, and some earplugs for noise.
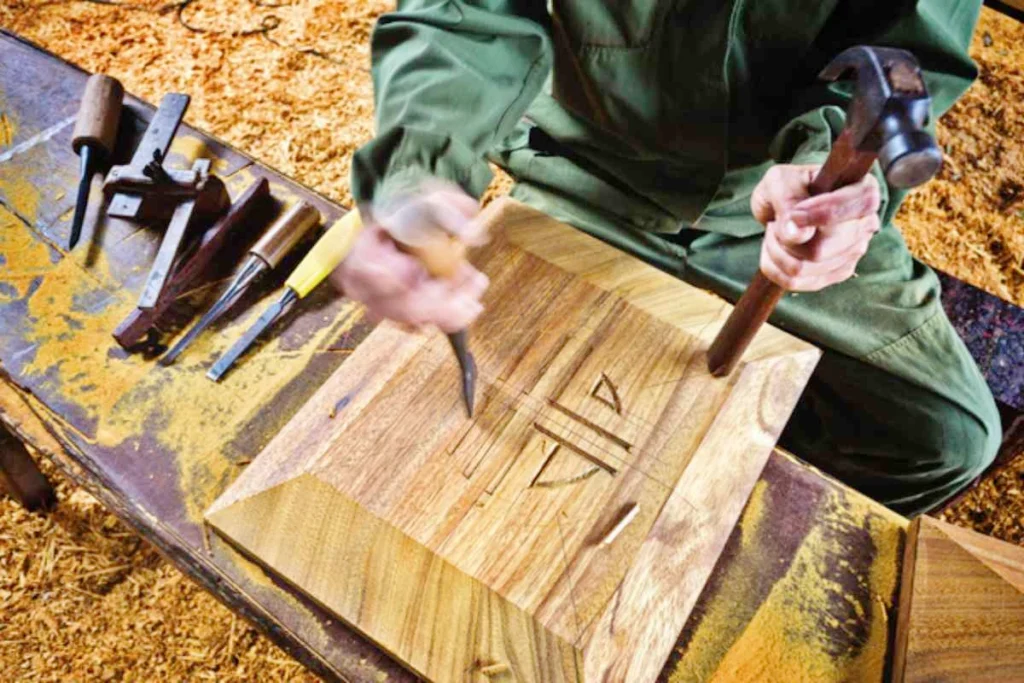
Time to Start Practicing
Once your basic tools are ready, it’s time to dive in. Try out the simple techniques I’m about to share, and you’ll find that carving doesn’t have to be as hard as it seems.
Look at Other People’s Work for Inspiration
When you’re just starting out, you might not have a clear idea of what you want to create—and that’s normal. A good way to get inspired is to check out carving exhibitions in your area, or just browse online for pieces that catch your eye.
Start by copying or imitating the carving lines and styles you see. As you learn from others, you’ll slowly start to notice what kind of work feels right for you. Over time, you’ll find your comfort zone and eventually develop a style that’s all your own.
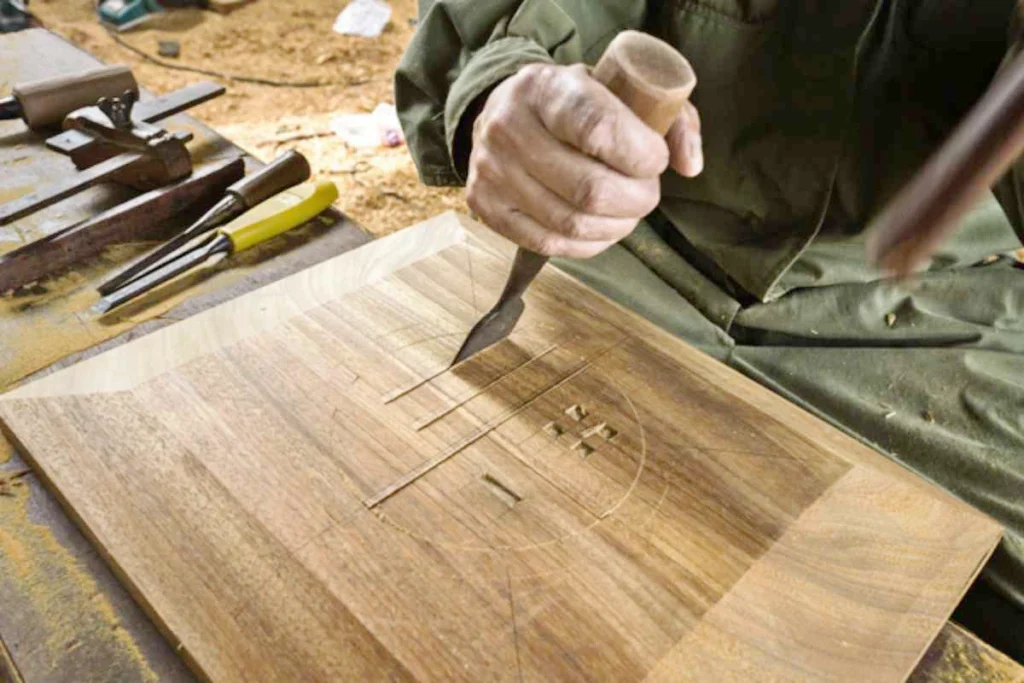
Practice with Simple Patterns
Pick projects that have straightforward lines to begin with—things that are easy to follow. Then move on to simple patterns like basic geometric shapes. This helps build your hand control and confidence.
Before you start cutting, draw your design on the material with a pencil, or make clear marks where you need to carve. You’ll be surprised how much easier it is to get going when you’ve got a guide right there on the surface.
Follow the Natural Structure of What You’re Carving
No matter what you’re carving, there are always some basic structural rules to keep in mind. Even simple shapes have angles and proportions that make sense—you don’t want to ignore them.
So when you carve, follow the natural lines of the pattern instead of suddenly switching directions on a whim. That’s how simple designs end up looking weird. When you’re working on flowers, trees, or people, take a moment to observe how they actually look in real life and carve according to their natural forms. With regular practice, you’ll start seeing your work become more and more realistic.
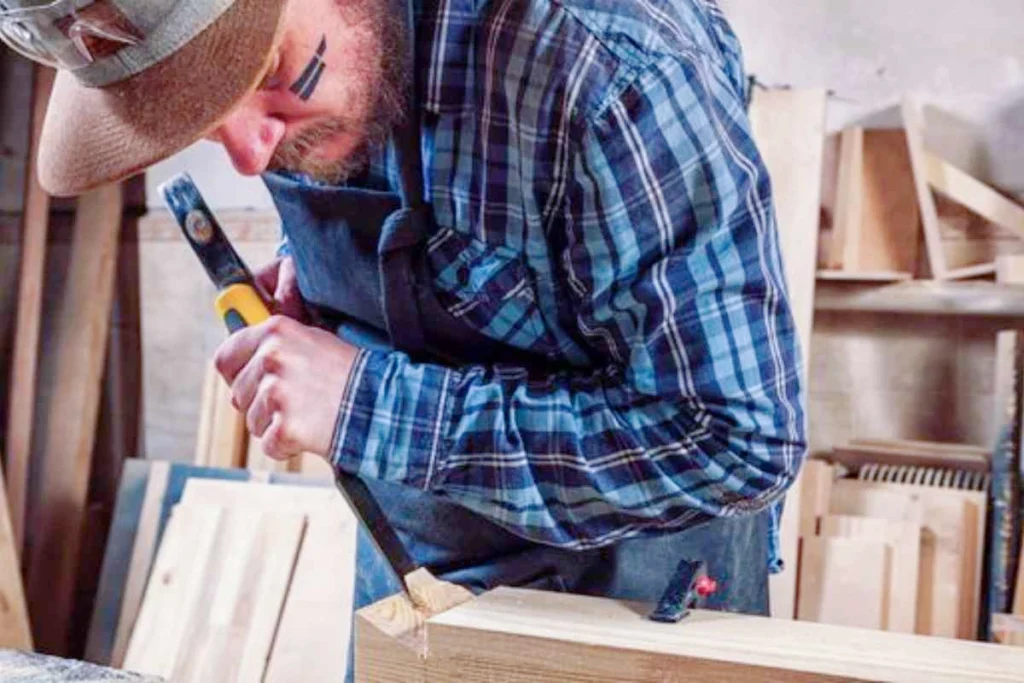
Get a Feel for Pressure and Angles
One thing that trips up almost every beginner is controlling how much pressure you apply and at what angle you hold your tool.
Push too hard, and your material might crack or break. Go too light, and you won’t get a clean shape. I’d suggest starting with cheap, soft materials like plaster or foam—they’re great for practice and won’t break your heart (or your wallet) if you mess up.
And try adjusting the angle of your knife as you work. For example, when you’re carving lines on the surface, holding your tool at about a 45-degree angle to the material usually gives the best result. Experiment with different tools and pressures, and over time you’ll develop what works best in each situation.
Carve in Layers
If you’re a beginner, I’d recommend not trying to carve everything on one flat level—it tends to make your piece look cluttered and flat.
Instead, work in layers. Start by carving out the big shapes first, then gradually move on to the finer details. This makes your piece feel more three-dimensional and also makes the whole process a lot easier to manage.
Make Use of Helpful Tools
Don’t be shy about using tools that can make your life easier. For instance, pneumatic engraving tools can save you a lot of physical effort, and computer-drawn templates can help with planning your designs.
These tools aren’t “cheating”—they save time, reduce fatigue, and help you carve more accurately, so you can focus more on bringing your ideas to life.
Keep Reviewing and Adjusting as You Go
If you really want to get better at carving, you need to make it a habit to step back and look at your work from time to time.
Whenever you finish a section, pause and take a good look. Ask yourself what’s working and what isn’t. Jot down a few notes if you need to, and keep refining as you go. Noticing both your strengths and your weak spots along the way is one of the best ways to improve.

Pay Attention to Details and Strive for Excellence
Even with all these tips in your back pocket, carving is still going to throw some challenges your way—that’s just part of the journey. Don’t let those rough patches get you down. Stay patient, hold onto your curiosity, and keep at it. With consistent practice over time, you’ll end up with work that you can genuinely be proud of.