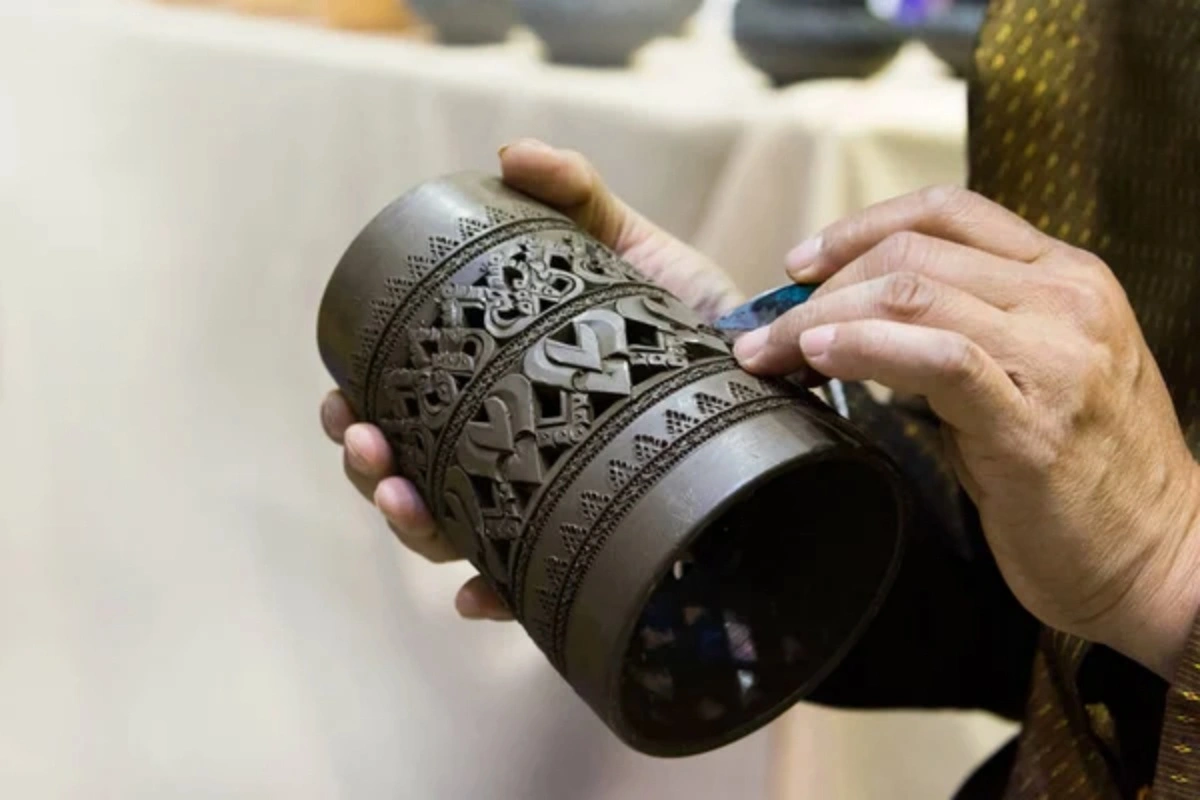
The first time I used a pneumatic engraver, I gotta be honest—I wasn’t sure if I even liked it.
I’d been carving with hand tools for so many years At first, having a machine do the work for me just felt weird. The sound was different, the feedback through the handle was different, even the way the cutter moved across the metal felt totally foreign.
But using it every day, a few weeks in, I started noticing some changes. By the end of the night, my wrist didn’t hurt as much. And the lines? Cleaner. Sharper.
Around that point, most engravers finally get why so many people have switched to a pneumatic system. It’s not about taking a shortcut. It’s really just about having better control over the engraving process. And after a while, your hand doesn’t take as much of a beating.
If you’re learning or thinking about giving pneumatic engraving a try, here are a few things that can seriously speed up the learning curve.
Don’t Fight the Tool
Pretty much every beginner I’ve met does the same thing. They try to use a pneumatic engraver like a traditional push knife.
Truth is, you don’t need to do that. When you run a pneumatic engraver, the tool already wants to move. Your job is to guide it, not force it. No need to shove it into the metal.
The lighter you hold it, the smoother your lines come out. I remember wrecking a small silver plate early on. Old habits — I pushed way too hard. The cutter slipped off a curve and left an ugly scratch on the back.
After that, I started loosening up my hand. Weird thing is, my control got better almost right away. Sometimes, less force gives you more precision.
The Air Pressure Mistake I Kept Making
A lot of engravers get obsessed with grip and angle adjustments. But I’ll be honest — air pressure matters just as much.
Sometimes the pressure just feels off. The tool gets jumpy. Cut lines turn choppy. Curves and fine shading become way harder to control. On the other hand, pressure that’s too low makes the tool feel sluggish, almost like the cutter’s dragging instead of cutting.
Of course, there’s no perfect setting for everything. Soft metal, hard steel, removing background, fine scrollwork — every situation feels different under your hand.
Most experienced engravers spend a lot of time tweaking air pressure, even if they don’t think about it anymore. Back when I was learning, I always cranked the pressure way up. I thought faster speed meant cleaner lines.
In reality, it made my lines look worse. Now I start lower than I think I need and ease it up little by little.
Why My Setup Was Slowing Me Down
Early on, hardly anyone talks about workshop setup. But after long hours, everyone gets it. Bad lighting hurts your work consistency. The wrong seat height causes problems too.
Cheap compressors can vibrate like crazy, and fine engraving turns into a real pain after a while. Moisture in the air line causes trouble too, especially on humid days. I even had a handpiece fail right in the middle of a job once. Little stuff like that makes a huge difference.
A clean bench, stable air pressure, good lighting, and a comfortable arm position can improve your engraving faster than most people expect.
Practice Curves More. Straight Lines Less.
Straight cuts make a lot of beginners feel confident. Curves expose every weakness in your control.
When I first started practicing scrollwork, my lines looked stiff and jittery. I could cut borders all day. But smooth curves? A whole different game. Then I found something that worked: slowing way down. Slower than felt natural. Even slower than what felt right.
A lot of beginners rush because pneumatic engravers look fast and smooth. But speed without control usually leads to rough cuts. Sometimes I’d spend a whole hour on scrap brass practicing tiny little S-curves and have absolutely nothing to show for it. It was boring as hell sometimes. But looking back, those practice sessions probably helped me more than almost anything else.

When the Tool Starts Talking Back
Sounds a little weird. But spend some time with it and you’ll get it. A pneumatic engraver has its own rhythm.
When everything runs right, the cut feels smooth and even. But when something goes wrong — bad geometry, wrong angle, too much pressure — you can usually hear it before you even see it. The sound changes. So does the vibration.
A lot of experienced engravers can tell just by feel if the tool needs adjusting. That kinda feel just takes time to develop.
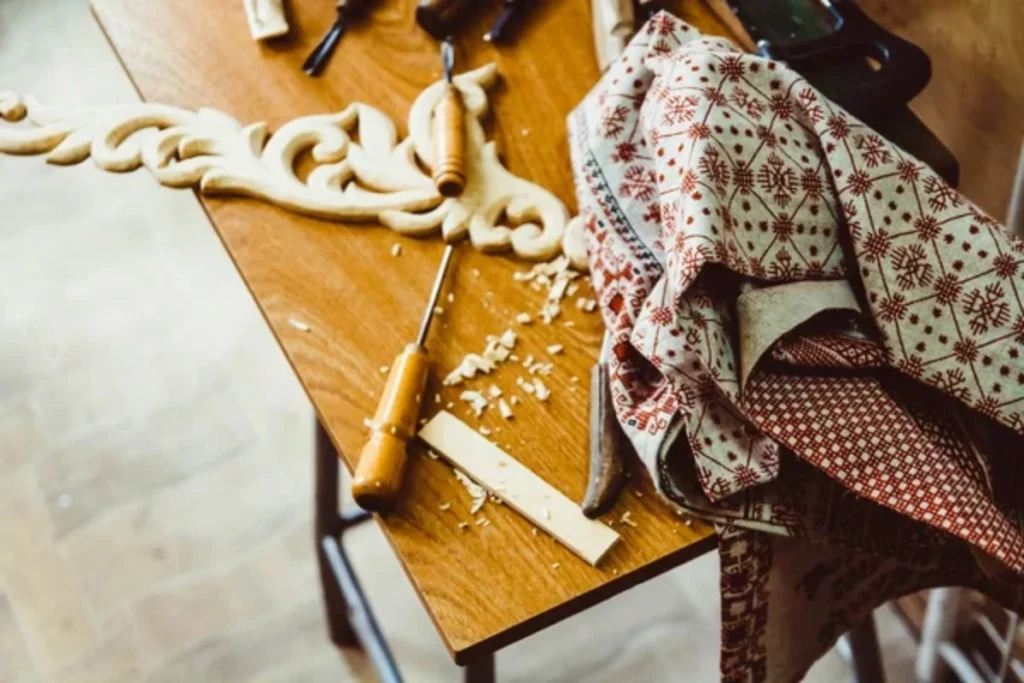
Don’t Ignore Tool Maintenance
Let’s be honest. Maintenance is where most people get lazy. I used to be the same way. “Eh, it’ll be fine for now.” Or put it off until the tool quit working. Then regret it.
But a dull graver and a dirty handpiece? They’ll mess up your engraving every single time. One failure after another kills the fun. You start blaming yourself for bad cuts. Half the time? The real problem is your tool setup.
Keeping gravers sharp is huge. So is cleaning the handpiece regularly. And checking the air system. One chipped cutter tip you don’t catch in time can wreck an entire afternoon’s work.
Now? I just glance over my tools real quick every day, just to avoid that mess.
Progress Often Happens Quietly
In engraving, the thing that drives people crazy? You don’t always see progress right away. Nobody becomes a master overnight.
But over time, you start to feel the difference. Like — the graver stops slipping. Shading looks better. Your hand relaxes.
One day you pull out an old piece from years ago. And realize you’ve been getting better all along. Slowly.