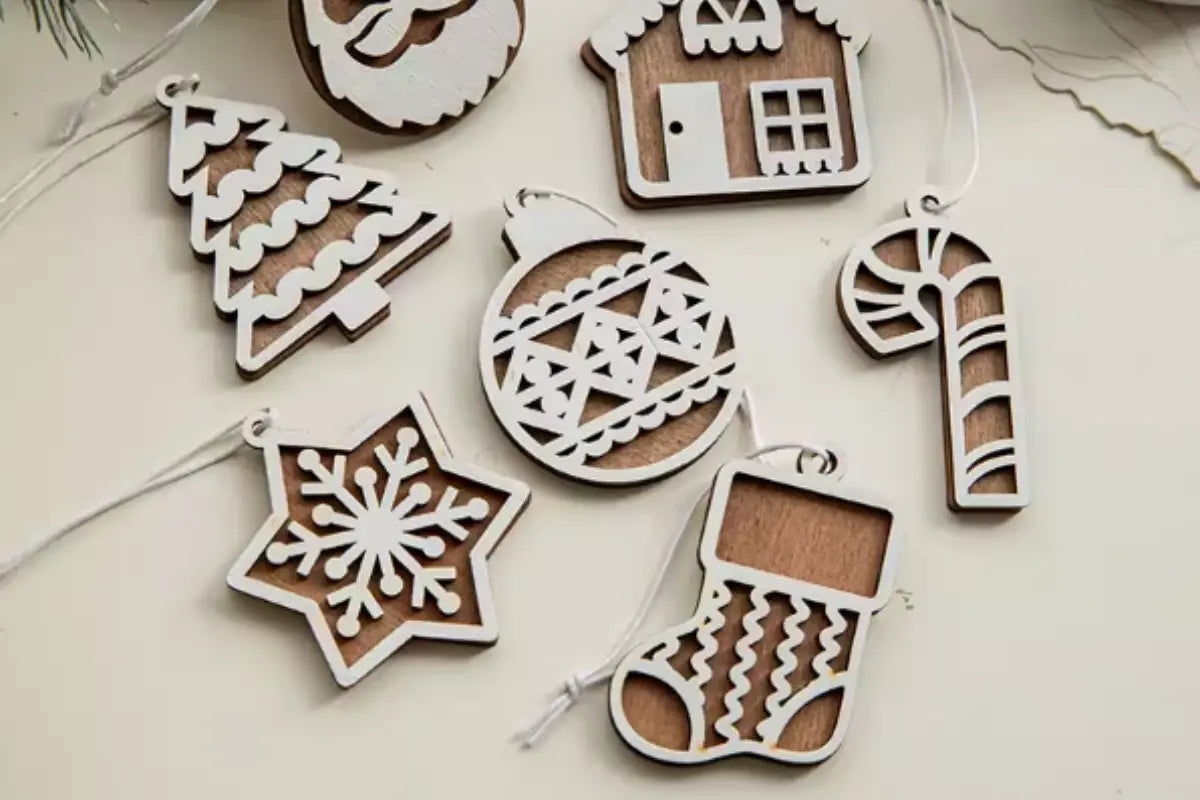
Christmas is the warmest and most romantic time of the year. Streetlights, Christmas trees, and the scent of cinnamon in the air all remind us of the holiday. In this festive season, carving unique wooden snowflakes with your own hands will add warmth and meaning to this winter.
I. The Charm of Wooden Snowflakes: The Warmth of Handcraft Surpasses All
Unlike decorations made of plastic or metal, wooden snowflakes possess a natural texture and warmth. The grain of the wood, the marks of the carving, even the smallest imperfections, are all reflections of time and care.
When you carve a snowflake by hand and hang it on the Christmas tree or place it by the fireplace, it’s not just a decoration, but a winter blessing—soft, natural, and imbued with the gentle power of wood’s fragrance.
The process of making wooden snowflakes is not complicated. With the right carving tools, patience, and a little creativity, you can easily create your own festive artwork.
II. Before You Begin: Preparing Your Carving Tools
Before creating wooden snowflakes, preparing the right tools is crucial. Whether you’re a beginner or an experienced crafter, the following tools will make your creation process smoother:
Hand Carving Knife
Hand carving knives are the soul of traditional wood carving. They help you precisely carve each snowflake pattern onto the wood. It’s recommended to choose a model with a sharp tip and a non-slip handle for more stable and safer operation. For detailed carving, such as the branches and patterns at the snowflake’s tip, using a small V-shaped or U-shaped knife provides better control over the pressure and lines.
Electric Carving Pen
If you want to increase efficiency or carve finer lines on the wood, an electric carving pen is the ideal choice. It provides a stable output of force, reducing hand fatigue, and is especially suitable for carving multiple snowflakes or designs requiring complex patterns. Many electric carving pens on the market also come with multiple blades, which can be freely switched according to the carving depth and texture variations, offering great flexibility.
Sandpaper and Polishing Tools
After carving, the snowflake surface usually has fine burrs and a rough feel. Lightly sanding with fine sandpaper (e.g., 400-800 grit) will make the wood chips smoother and more delicate, making it easier to apply color or wax later.
Wood wax oil or acrylic paint
To protect the surface of the wooden snowflake and extend its lifespan, you can choose to apply a layer of clear wood wax oil. To give the snowflake a more festive feel, you can also lightly paint it with acrylic paint, such as white, silver, or gold, creating a layered effect of snow and luster.
III. The Carving Process: The Birth of a Snowflake
The process of making a wooden snowflake is actually a kind of healing experience. You don’t have to rush; just follow your own rhythm and feel the dialogue between the wood grain and your hand with each stroke.
Drawing the Pattern
First, draw the outline of the snowflake on the wood chip. You can lightly sketch the basic hexagonal framework with a pencil, and then design branches, petals, or geometric lines at each corner. The shape of a snowflake is ever-changing; there is no standard answer. The most perfect shape is one that suits your aesthetic.
Rough Carving and Shaping
Using a hand carving knife or electric carving pen, cut out the shape of the snowflake along the outline. The key at this stage is to keep the lines smooth and not rush. The direction of the wood grain greatly affects the feel of the knife; special care must be taken to control the pressure when carving against the grain to avoid chipping.
Detail Carving
The most captivating aspect of snowflakes lies in their details. You can carve tiny patterns, dots, or star-shaped decorations on the branches to make the overall piece more three-dimensional and layered. Gently cut, thin, and outline with a carving knife, and the soul of a snowflake gradually takes shape.
Sanding and Coloring
After carving, lightly sand the edges and surface. If you prefer a natural wood look, you can keep the original color and apply a clear wax oil; for a more festive feel, you can brush on white paint and sprinkle a little glitter, like winter sunlight falling on snow.
IV. Creative Extensions: Incorporating Wooden Snowflakes into Your Christmas Decorations
The finished wooden snowflakes can not only be hung on Christmas trees but also have many other creative uses:
l Christmas Gift Decoration: Attach a hand-carved snowflake to a gift box to make it more thoughtful.
l Window Sill or Fireplace Decoration: Arrange several snowflakes of different sizes in a staggered arrangement, paired with pine cones and candles, for a warm and artistic look.
l DIY Christmas Wreath: String wooden snowflakes with evergreen branches and dried fruit into a wreath and hang it on the door to welcome the holiday.
l Ornaments or Keychains: After polishing and waxing, they can become everyday decorations, extending the warmth of the holiday season.
V. Preserving Winter Romance Through Carving
Every snowflake is unique, and so is every hand-carved piece.
When you pick up a carving knife, turn on the electric carving pen, and carve your own texture into the wood, you are also carving tenderness and love into your life.
This Christmas, why not give yourself a new experience—create your own winter miracle with carving tools.
As snowflakes fall, your wooden snowflakes will also shimmer with a warm glow under the light, a glow that is uniquely yours.