Carving a heart stamp by hand is more than just a simple craft project—it is a meaningful and personal creative process. Whether you plan to use it for sealing love letters, decorating journals, personalizing gift wrapping, or creating handmade Valentine’s Day cards, a hand-carved stamp carries a warmth that mass-produced designs simply cannot replicate. When you use a pneumatic engraving machine, you gain greater precision and control, allowing your design to look refined while still preserving the handmade charm.
This detailed guide will walk you through the entire process of carving a heart stamp using a pneumatic engraving machine, explaining not only how to do each step, but why each step matters.
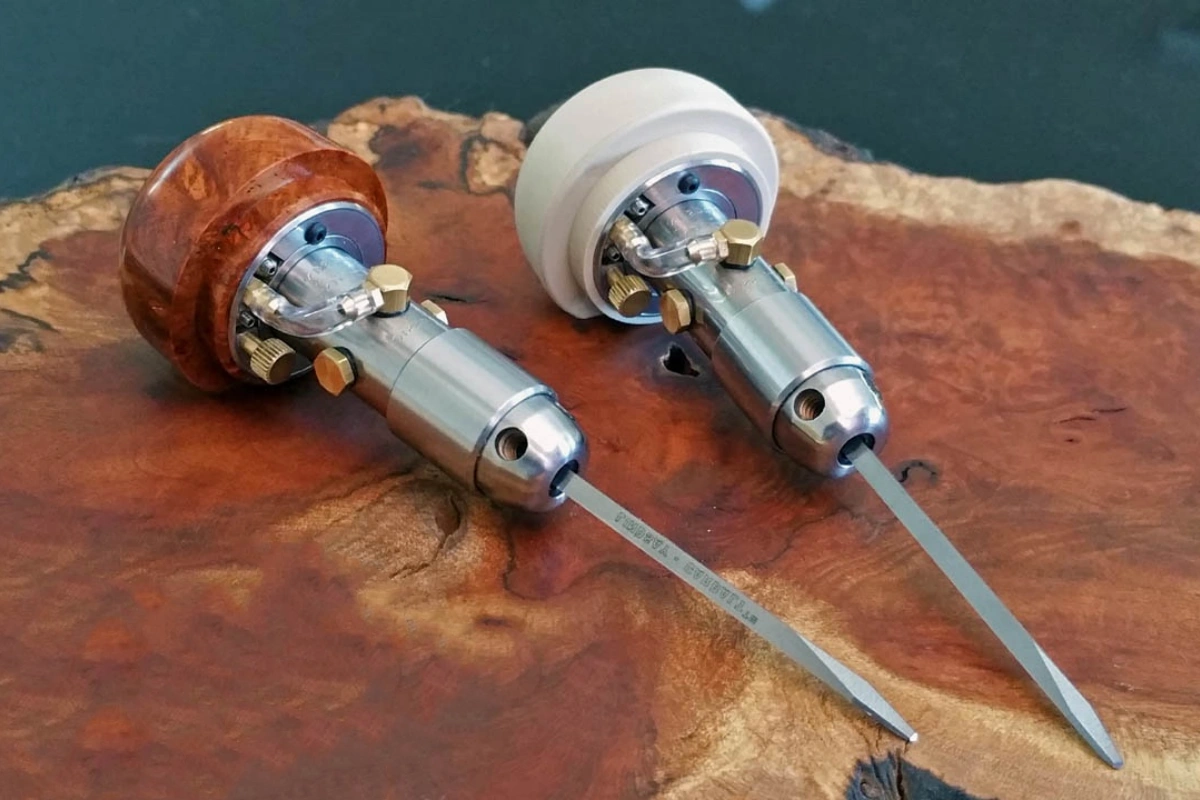
Preparing Your Tools and Workspace
Before you begin carving, it is essential to prepare a stable and organized workspace. Working with a pneumatic engraving machine requires focus and consistency, so having everything within reach will prevent unnecessary interruptions. You will need a pneumatic engraving machine with adjustable speed, a compatible air compressor, engraving bits in fine, medium, and slightly wider sizes, a soft rubber carving block or stamp rubber, tracing paper, a pencil with strong graphite, a craft knife for trimming, fine-grit sandpaper, and an ink pad for testing.
Safety should never be overlooked. Because pneumatic engraving produces small rubber particles and fine debris, wearing protective glasses is highly recommended to shield your eyes. A mask can also be helpful if you are working for an extended period, as it reduces the chance of inhaling dust. A non-slip mat beneath your rubber block will stabilize the surface and improve carving accuracy.
Taking time to prepare your environment might feel unnecessary at first, but precision carving depends heavily on stability. Even small movements can affect the symmetry of a heart shape.
Designing the Heart Pattern
The heart may seem like one of the simplest shapes, but achieving a balanced and visually pleasing heart requires attention to proportion. Begin by sketching your design on paper. A heart between 3 to 5 centimeters in width is ideal for a first project, as it is large enough to carve comfortably without demanding extreme detail.
If you plan to include initials or small decorative elements inside the heart, remember that stamps print in reverse. Any letters must be mirrored before transferring the design, otherwise they will appear backward when stamped. This step is often overlooked by beginners, so double-check your design before moving forward.
When drawing the heart, try to keep the curves smooth and symmetrical. A helpful technique is to fold the paper in half vertically and draw half of the heart along the fold, then cut it out and unfold it. This ensures symmetry, which is particularly important when carving because correcting uneven curves later can be difficult.
Transferring the Design onto the Rubber Block
Once your design is finalized, the next step is transferring it onto the rubber carving surface. Place tracing paper over your drawing and carefully trace the heart outline using a soft graphite pencil. Press firmly so the lines are dark and well-defined. The darker the graphite, the easier it will transfer.
Flip the tracing paper over and position it onto the rubber block. Rub firmly across the back using a spoon or flat tool to transfer the graphite onto the surface. Lift the paper slowly to check the transfer. If the lines appear too faint, you can gently reinforce them with a pencil directly on the rubber.
A clear and visible outline is essential because the engraving machine will follow these lines precisely. Weak or unclear markings increase the risk of carving off-center or unevenly.
Setting Up the Pneumatic Engraving Machine
Before starting the carving process, connect your pneumatic engraving machine to the air compressor and check that the air pressure is within a moderate range, typically around 0.2 to 0.4 MPa depending on your machine. Starting at a lower pressure is always safer, especially if you are new to pneumatic tools. Higher pressure increases cutting depth and speed, but it also makes mistakes happen faster.
Test the machine briefly on a scrap piece of rubber. This allows you to feel how the tool vibrates and how much pressure is required. Pneumatic engraving machines are highly efficient and require less physical force than manual carving tools, but that also means they can cut deeper than intended if you press too hard.
Understanding the sensitivity of the tool before touching your final piece will dramatically reduce errors.
Carving the Outline of the Heart
Begin by using a fine engraving bit to carve along the outline of the heart. Hold the machine as you would hold a pen, maintaining a steady 45-degree angle between the tip and the rubber surface. Rather than forcing the tool forward, allow the vibration and air-powered motion to guide your movement. Apply light, consistent pressure and move slowly.
It is important not to carve too deeply during the first pass. Instead, focus on establishing a clean guiding line. You can always deepen the cut later if necessary. Carving in shallow layers gives you more control and prevents the edges from becoming jagged.
Take your time when rounding the curves of the heart. Smooth curves require steady wrist control. If you rush this stage, the heart may lose its symmetry, and correcting uneven edges afterward is much more difficult.
Removing the Background Area
After the outline is clearly defined, switch to a slightly wider engraving bit to remove the surrounding rubber. This step creates the negative space that allows the heart shape to stand out when stamped.
Work gradually outward from the carved outline, removing thin layers of rubber rather than attempting to clear large sections at once. The goal is to create a noticeable depth difference between the heart and the background. Typically, the background should be carved deep enough that it does not accidentally pick up ink during stamping.
Pneumatic engraving machines are particularly effective in this stage because they allow controlled material removal with minimal hand strain. However, this efficiency can also lead to over-carving if you are not careful. Frequently pause to check your depth and maintain evenness across the background.
Refining Edges and Smoothing the Surface
Once the background is cleared, return to a fine engraving bit to refine the edges of the heart. Gently smooth any rough sections and ensure the curves look fluid and continuous. If you included inner details such as initials or decorative lines, lower the air pressure slightly to improve precision while carving those smaller elements.
A final touch involves lightly sanding the bottom surface of the rubber block with fine-grit sandpaper. This step helps ensure that the base is flat. A flat base is critical because uneven surfaces can cause incomplete or blurry prints when stamping.
Testing the Stamp
Testing is one of the most important stages of the process. Apply ink evenly across the surface of the carved heart using an ink pad. Press the stamp straight down onto paper with even pressure and lift it vertically without twisting.
Examine the print carefully. If you notice unwanted marks, it may indicate that the background is not carved deeply enough. If certain lines appear too thin or broken, you may need to refine the edges slightly.
Most hand-carved stamps require two or three test prints before achieving a clean result. Do not rush this part; refining after testing is part of the craftsmanship.
Final Thoughts
Carving a heart stamp with a pneumatic engraving machine is both technical and creative. The machine provides efficiency and precision, but the final result still depends on patience and steady control. Each step—from transferring the design clearly, to carving gradually in layers, to testing carefully—contributes to the quality of the finished stamp.
The first time you press your finished heart stamp onto paper and see a crisp, clean print appear, you will understand why this process is so rewarding. It is not simply about carving rubber—it is about creating a small, lasting symbol of care and intention.
Oh my goodness! an amazing article dude. Thank you Nonetheless I’m experiencing situation with ur rss . Don’t know why Unable to subscribe to it. Is there anybody getting similar rss downside? Anyone who is aware of kindly respond. Thnkx
yerevan car rental
car hire baku airport
car hire rhodes greece https://drivelity-greece.com/car-rental-rhodes-greece
best car rental chania airport deals